
Tooba Siddiqui
Wed Aug 06 2025 • Updated Mon Apr 27 2026
8 mins Read
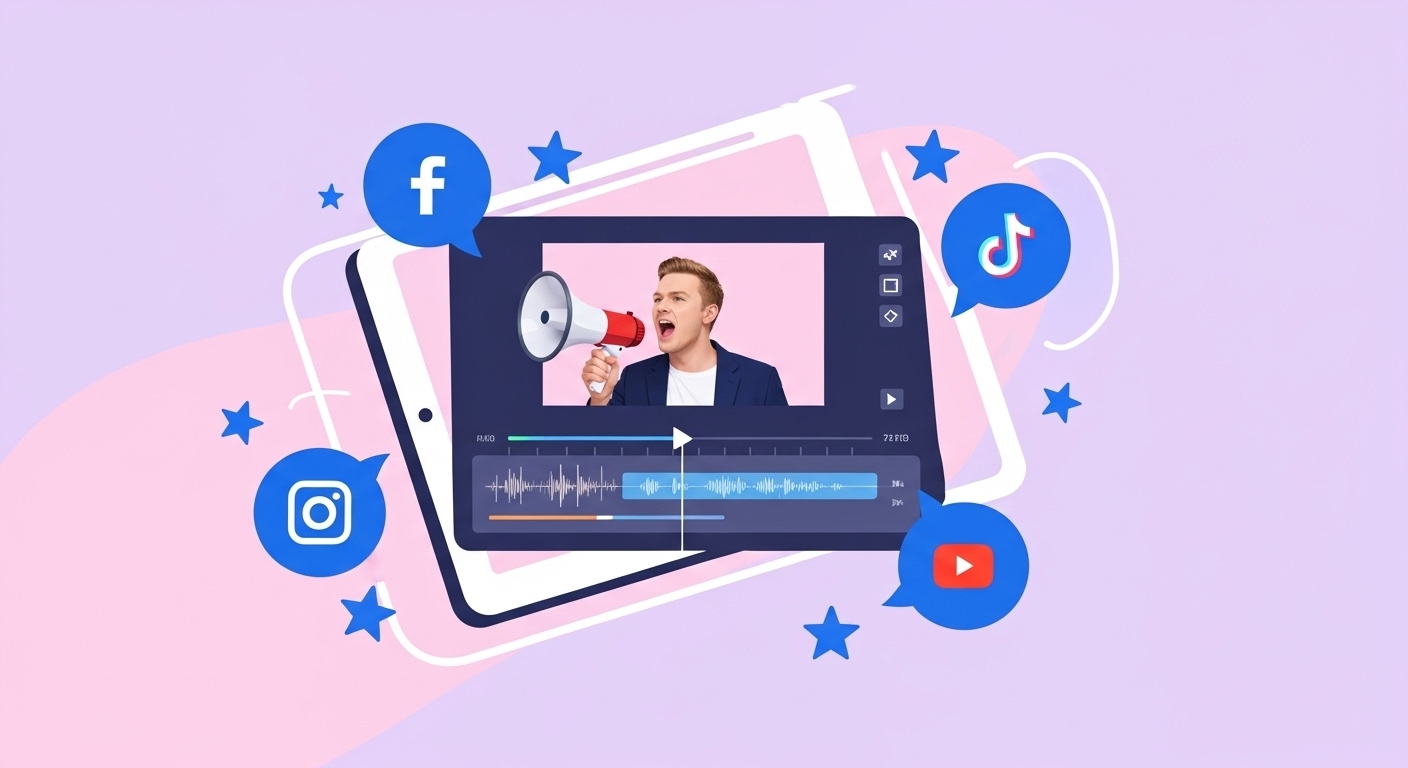
ImagineArt AI Video Editor brings professional-grade editing power into an easy-to-use interface. With no software installs, timelines to wrestle with, or a complicated learning curve, it is a bridge between your creative video idea and the professionally done final output.
It’s not just about editing. It’s about speed, structure, and smart video storytelling that fits your creative flow. From refinement of AI-generated videos to remixing your own assets, this browser-based editor lets you trim, layer, style, and finish videos with cinematic flair.
Why Video Editing Still Matters in the AI Age
AI-generated videos can be incredibly powerful. But even the most beautifully generated clip often needs something more like:
- Combining multiple video segments
- Adding brand assets or product callouts
- Fixing pacing or trimming dead space
- Layering visuals, text, and sound into one cohesive experience
That’s where ImagineArt AI Video Editor comes in — turning raw material into scroll-stopping content. A simple, AI-friendly, browser-based tool that lets you combine and customize videos, including those generated by ImagineArt AI Video Generator.
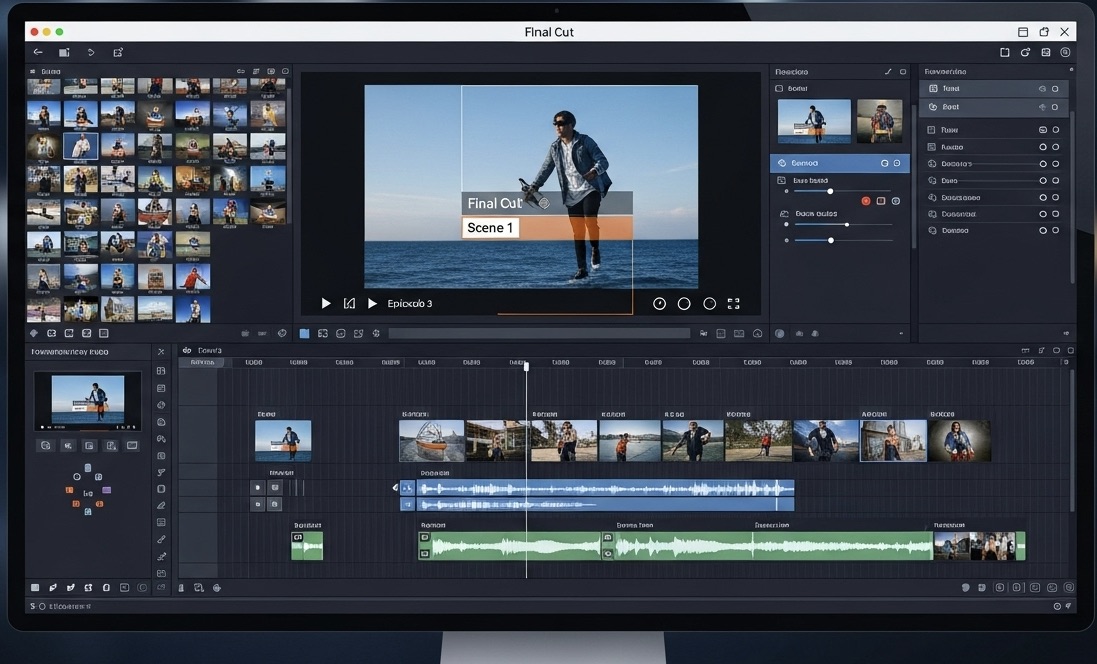
Key Features of ImagineArt AI Video Editor
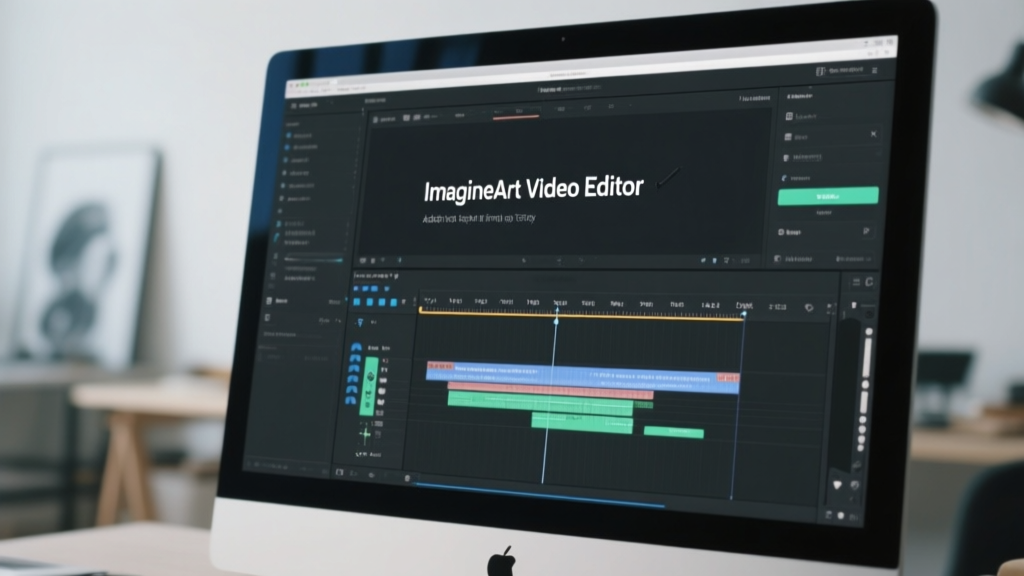
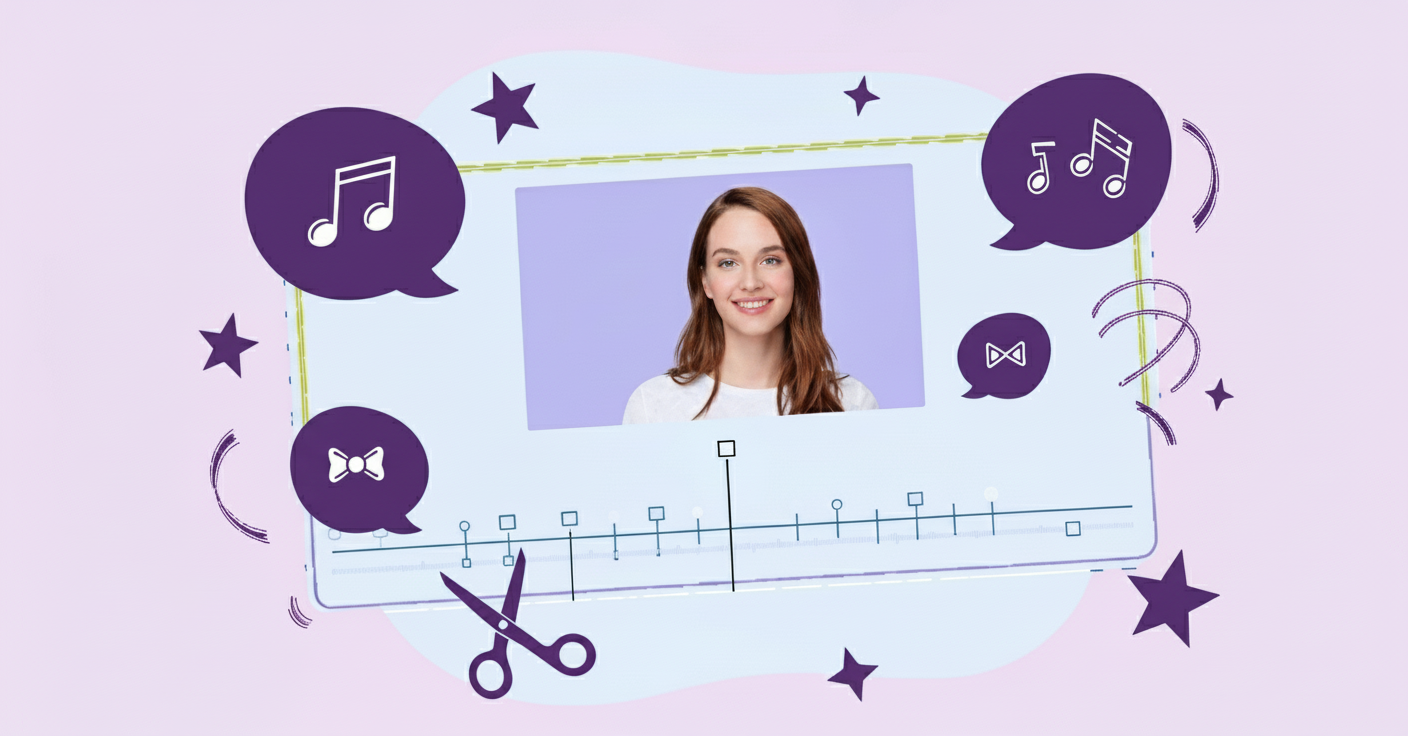
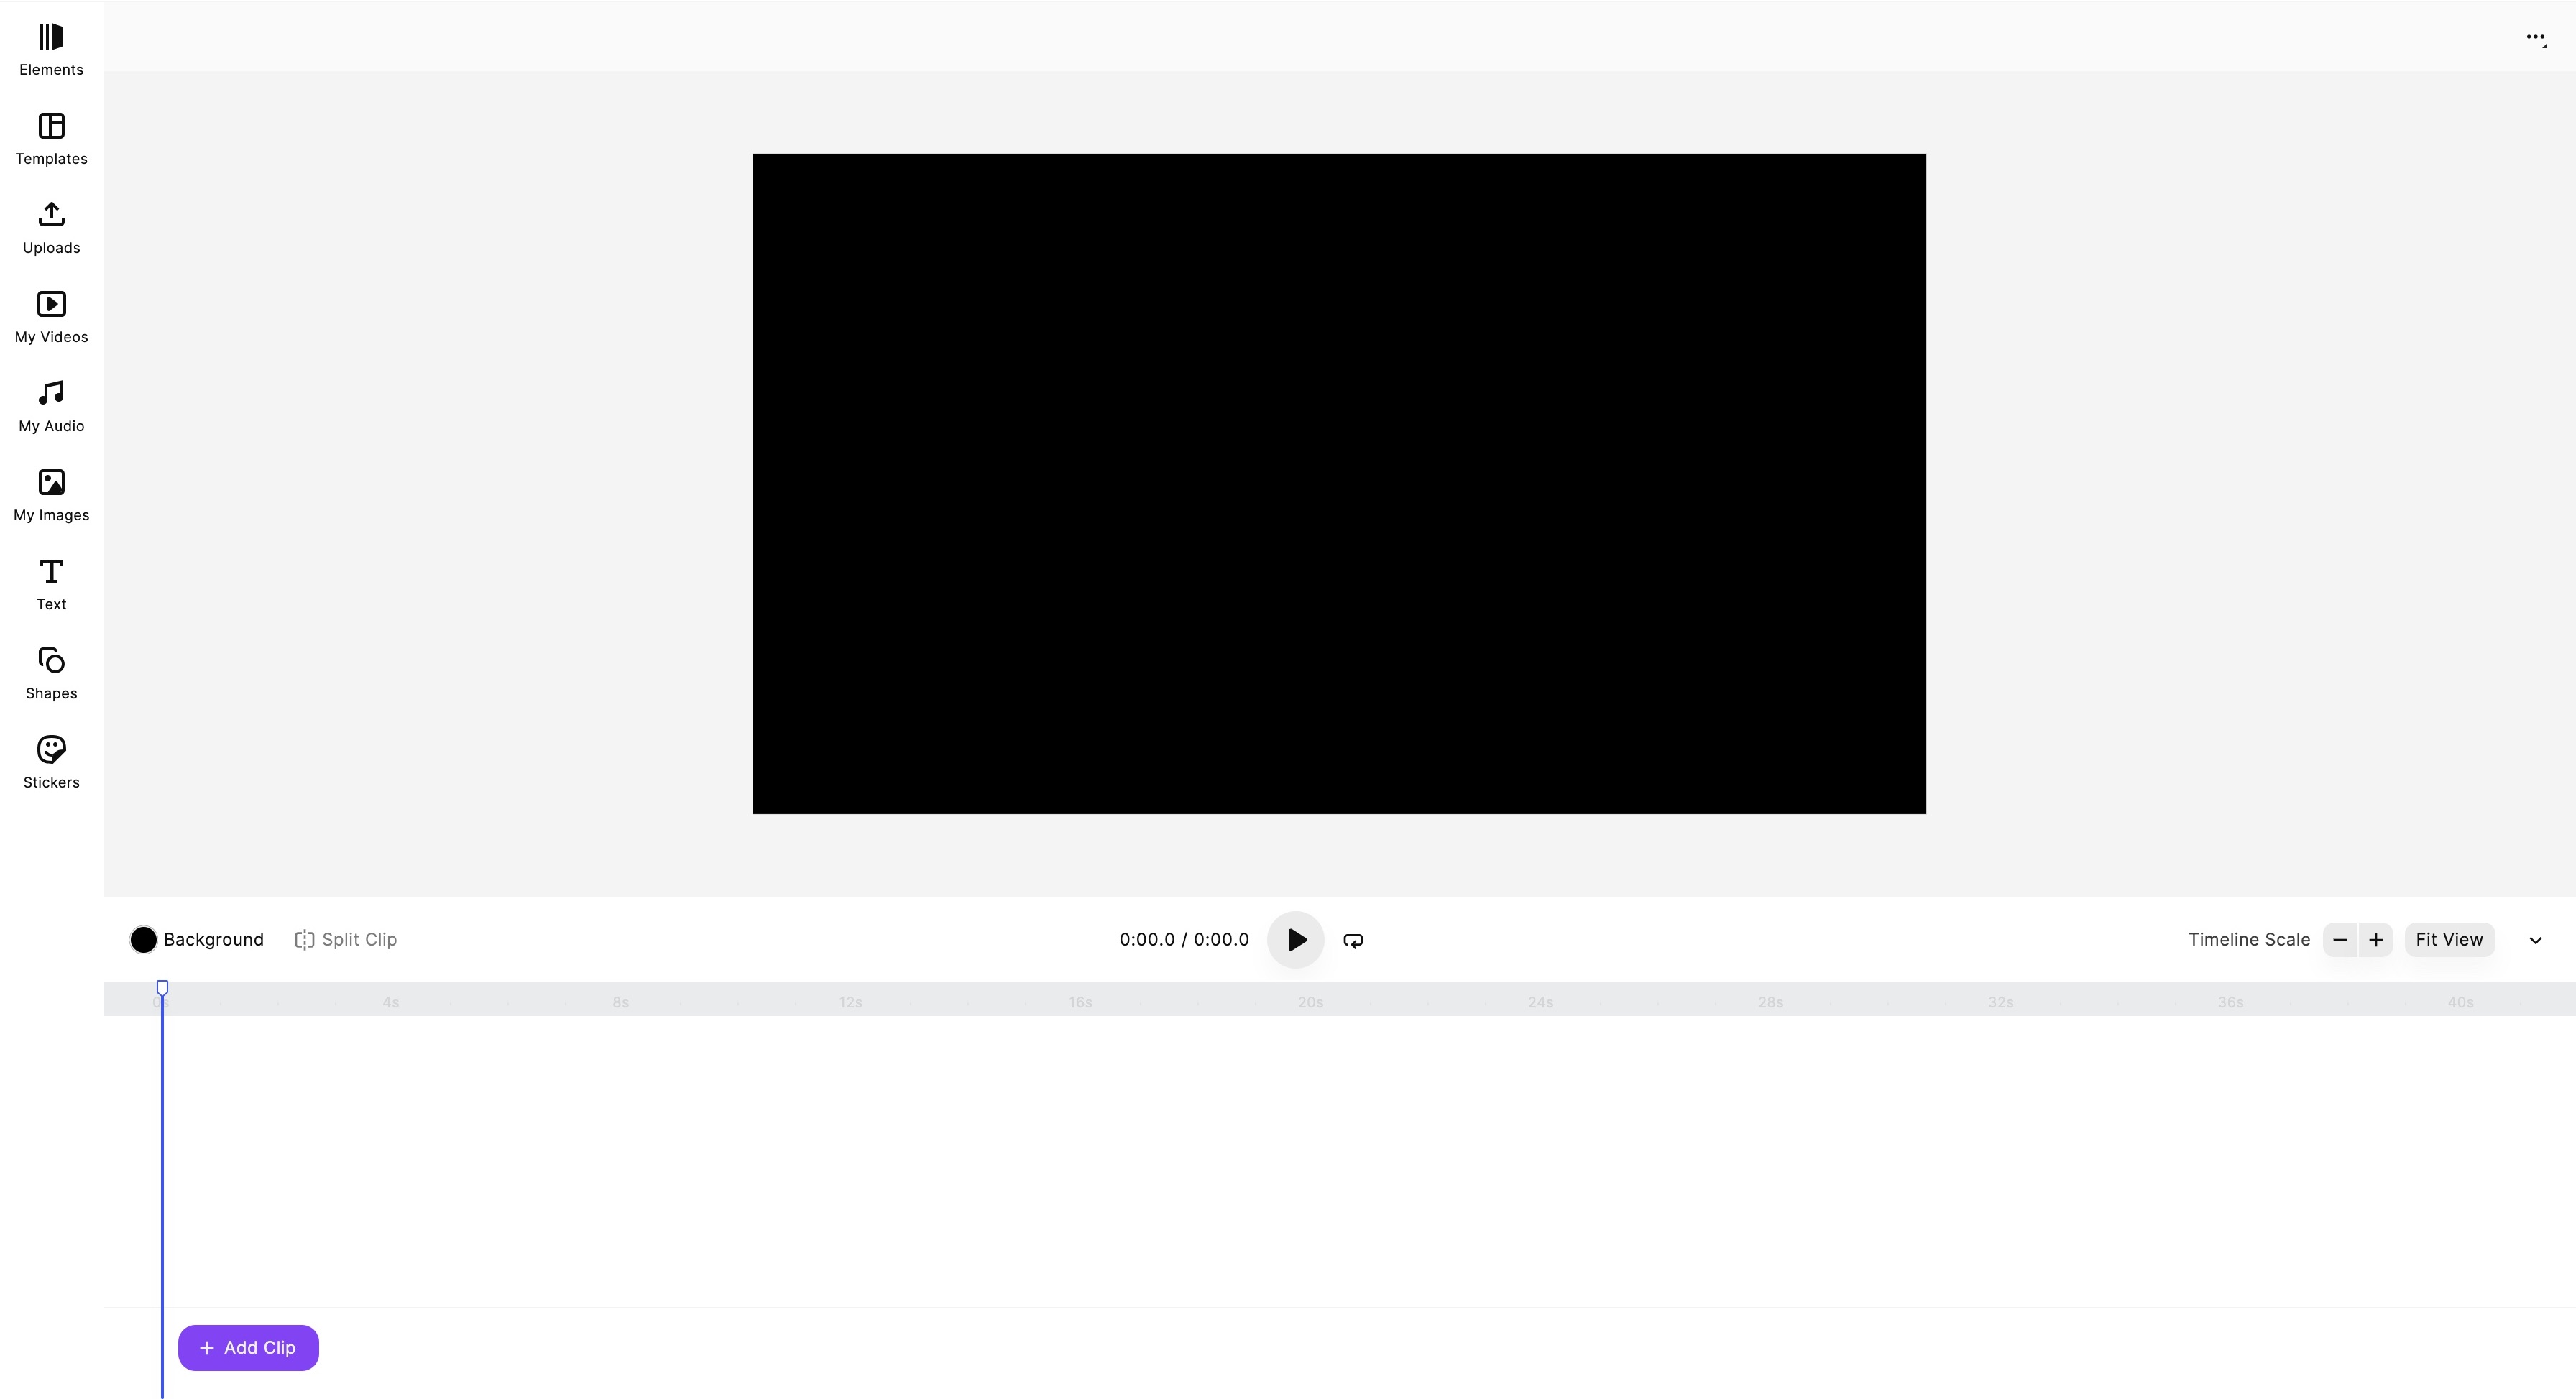 ImagineArt AI Video Editor dashboard
Let’s look at what makes ImagineArt AI Video Editor essential for AI creators, marketers, and editors:
Multi-Clip Timeline
Drag and drop your videos into a stackable timeline. Combine clips from different scenes, generation styles, or product shots into a unified flow.
Layer-Based Editing
Stack video clips, text, images, and overlays like layers — adjust their position, duration, and order easily. Ideal for UGC remixes, promos, and creative storytelling.
Text & Caption Tools
Add subtitles, captions, or stylized text directly onto your videos. Choose fonts, colors, animations, and placements. Perfect for tutorials, promos, or social ads.
Visual Filters & Effects
Style your videos using curated filters — like VHS, cinematic, noir, or pastel. Apply smooth transitions or loop-friendly fades for seamless cuts.
Video Trim
Instantly cut silences, awkward pauses, or off-screen sections from AI-generated voiceovers or videos. Saves time and makes your video tighter.
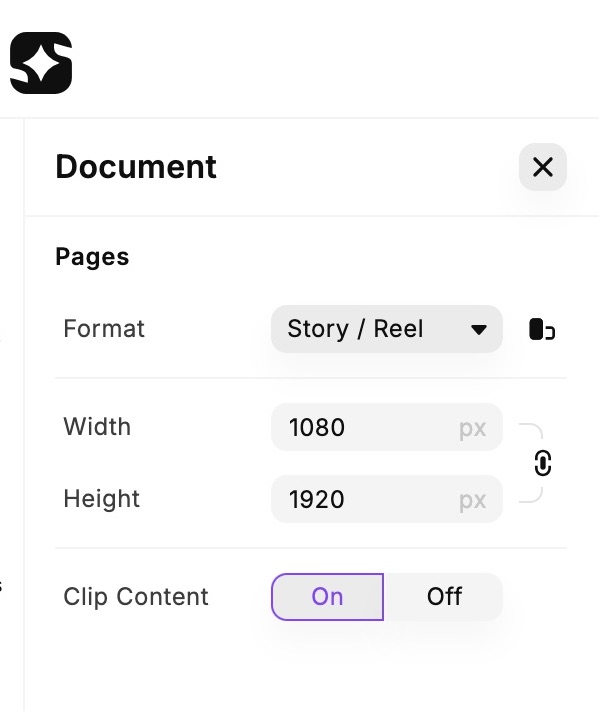
Custom Video Sizes
Select your output format before you start:
- Vertical (9:16) for TikTok, Instagram Reels
- Square (1:1) for social ads
- Landscape (16:9) for YouTube or presentations
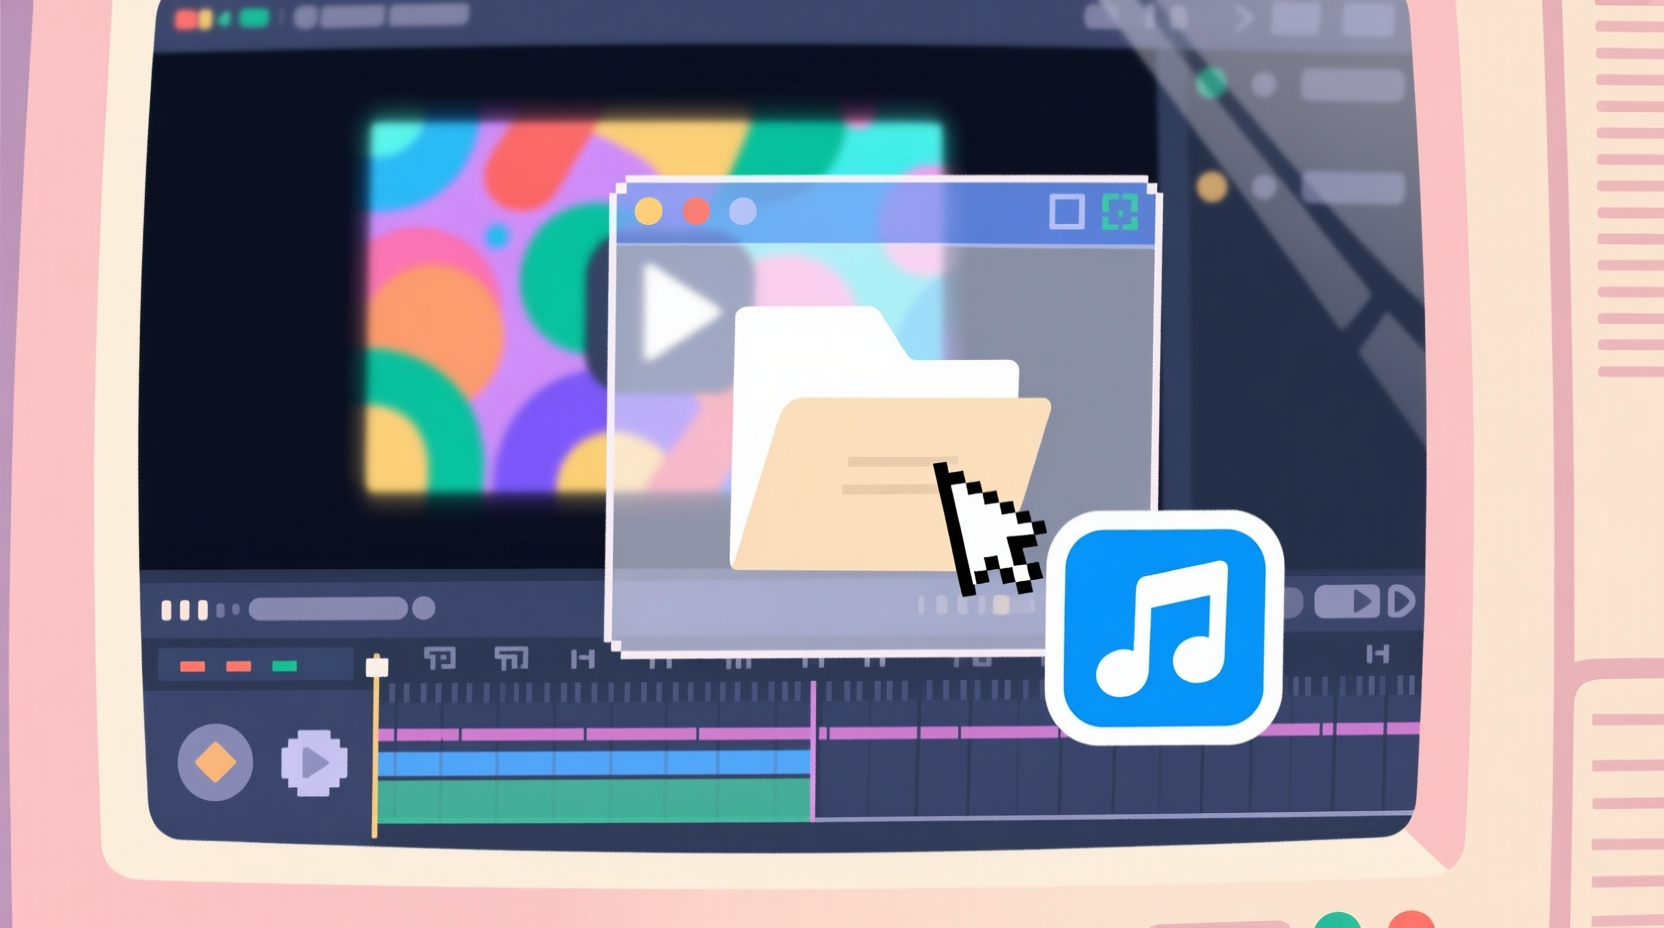
Audio Controls & Music Sync
Add royalty-free music and ambient sound. Adjust volume levels and sync beats. You can even access and utilize the music and sound created on ImagineArt Music apps like EDM, Trap Music, Jazz Music, and more. This allows users to access and choose from a curated music/voice library to match the theme, pace, and overall tonality of the edited video.
How ImagineArt AI Video Editor Works
Here’s a step-by-step guide to how the editor works, whether you’re starting with AI content or uploading your own footage.
Step 1: Access the Editor
Head to your ImagineArt dashboard, navigate to the side bar, hover your cursor over 'Tools', and then select 'Video Project Editor.' You can start with:
- A blank project
- Select a predefined template
- AI-generated content from your ImagineArt Library. You can access and use the visuals generated by ImagineArt AI Image Generator.
- Uploaded assets (video/image/audio)
Step 2: Select Output Format
Choose your video size at the beginning:
- Vertical for social-first videos
- Square for multi-platform delivery
- Landscape for widescreen formats
The AI video editor will adapt your canvas and tools accordingly — no stretching or awkward cropping needed.
Step 3: Upload or Import Media
Bring in your content:
- Import clips directly from ImagineArt AI Video Generator
- Upload your graphics or image files. You can even import images generated on ImagineArt AI Image Generator.
- Add brand elements (logos, product renders, etc). You can create your own logos using ImagineArt AI Logo Generator.
Step 4: Arrange Your Timeline
Drag-and-drop clips to arrange your sequence. You can:
- Trim or split clips
- Reorder scenes
- Add gaps or transitions
- Stack elements using the layer panel
Think of it like arranging slides, but with video.
Step 5: Style With Text, Filters, and Effects
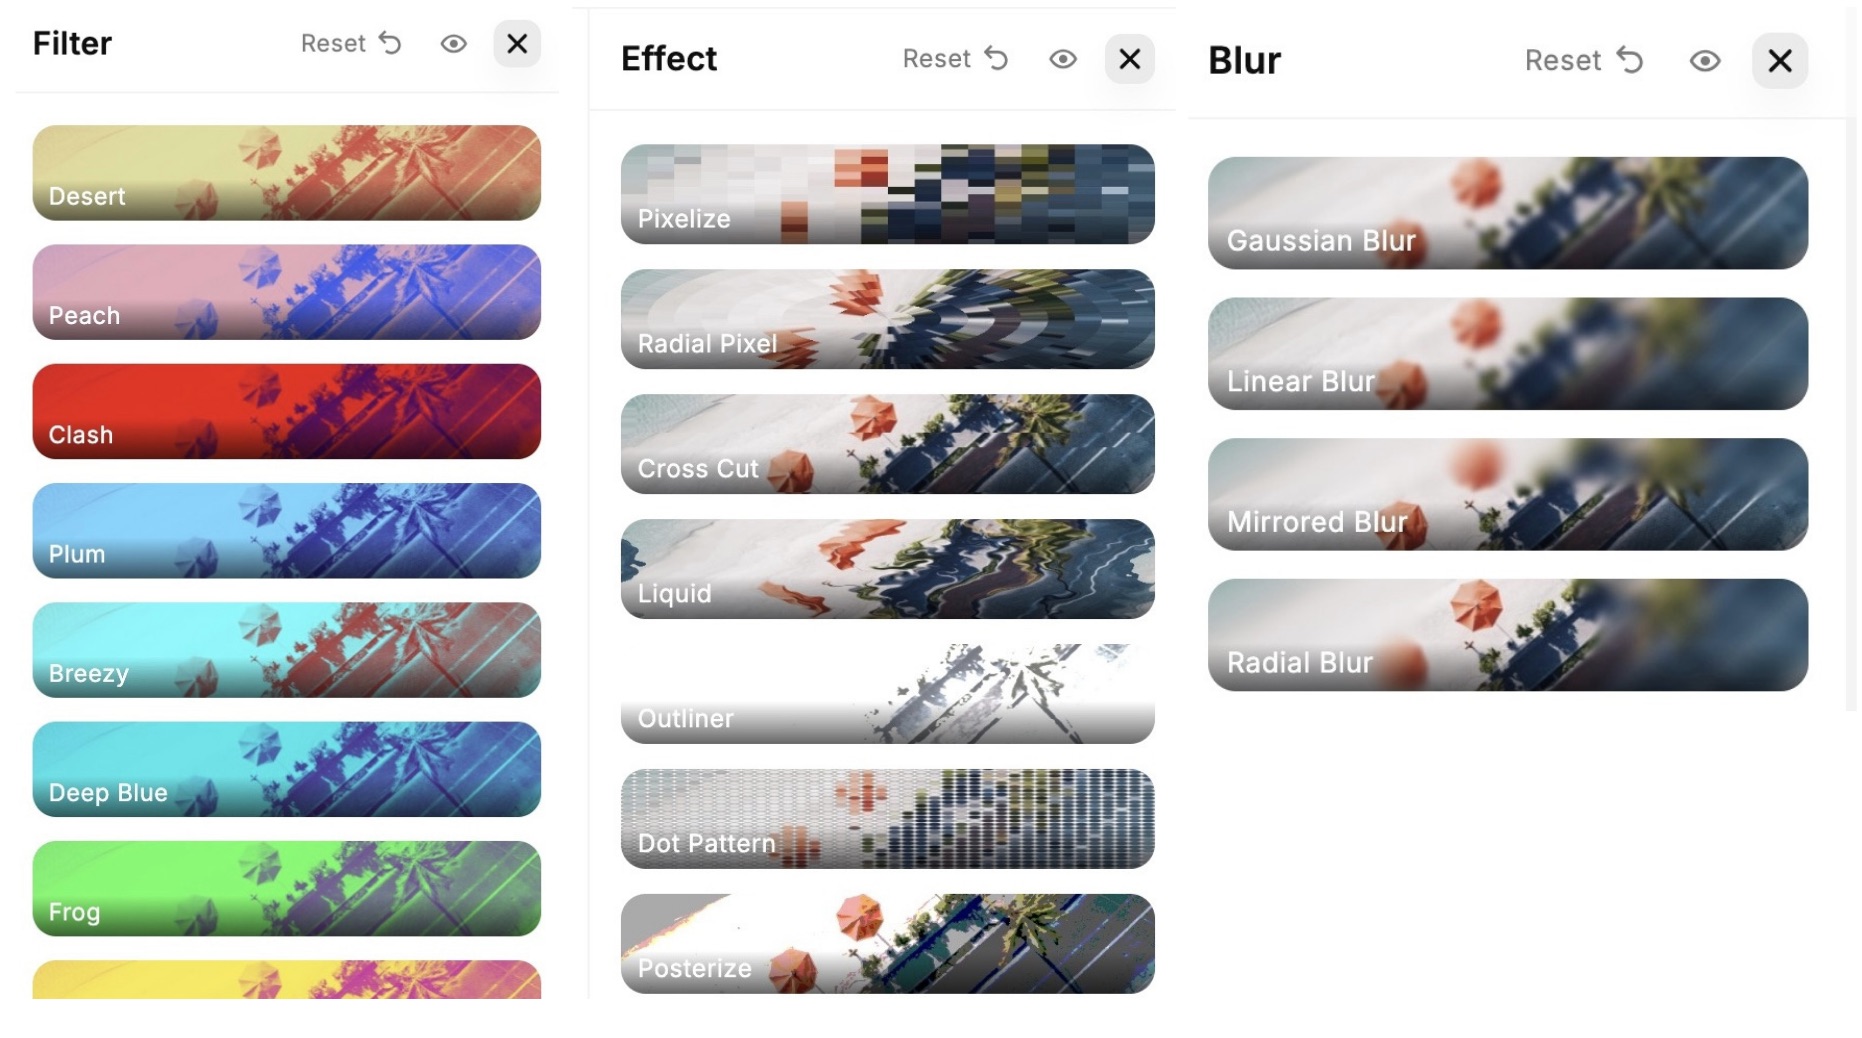
This is where your video gets polished. Add:
- Text overlays (headlines, captions, annotations)
- Visual effects (loop animation, fades, blur effects)
- Filters to set the mood
- Brand styling using fonts and colors
Each layer is independently customizable — making the editing process modular and flexible.
Step 6: Add Audio
You can:
- Add music from ImagineArt's royalty-free library
- Upload your own background music
- Import AI-generated soundscapes from ImagineArt Music apps
- Adjust volumes or mute sounds for a smooth experience
Step 7: Preview and Export
Once done:
- Preview the full timeline
- Make final adjustments
- Export in high-quality MP4 format
You’re done. Your polished video is now ready to post, publish, or present.
Use Cases for ImagineArt AI Video Editor
Whether you're a creator, marketer, or educator, ImagineArt AI Video Editor gives you the tools to turn scattered visuals into cohesive, scroll-stopping stories. Here’s how different types of users can benefit from it:
UGC Ad Mashups
Who it's for: E-commerce brands, agencies, marketers
How it helps: Import influencer videos, product testimonials, and lifestyle shots — then layer them with bold captions, music, and branded animations. You can:
- Stack multiple customer clips into one seamless highlight reel
- Add overlays like star ratings or “limited offer” text
- Cut awkward pauses and auto-trim clips for short-form ads
Pro Tip: Export in 9:16 for TikTok ads and 1:1 for Instagram carousels.
Recommended read: How to UGC Ads with AI
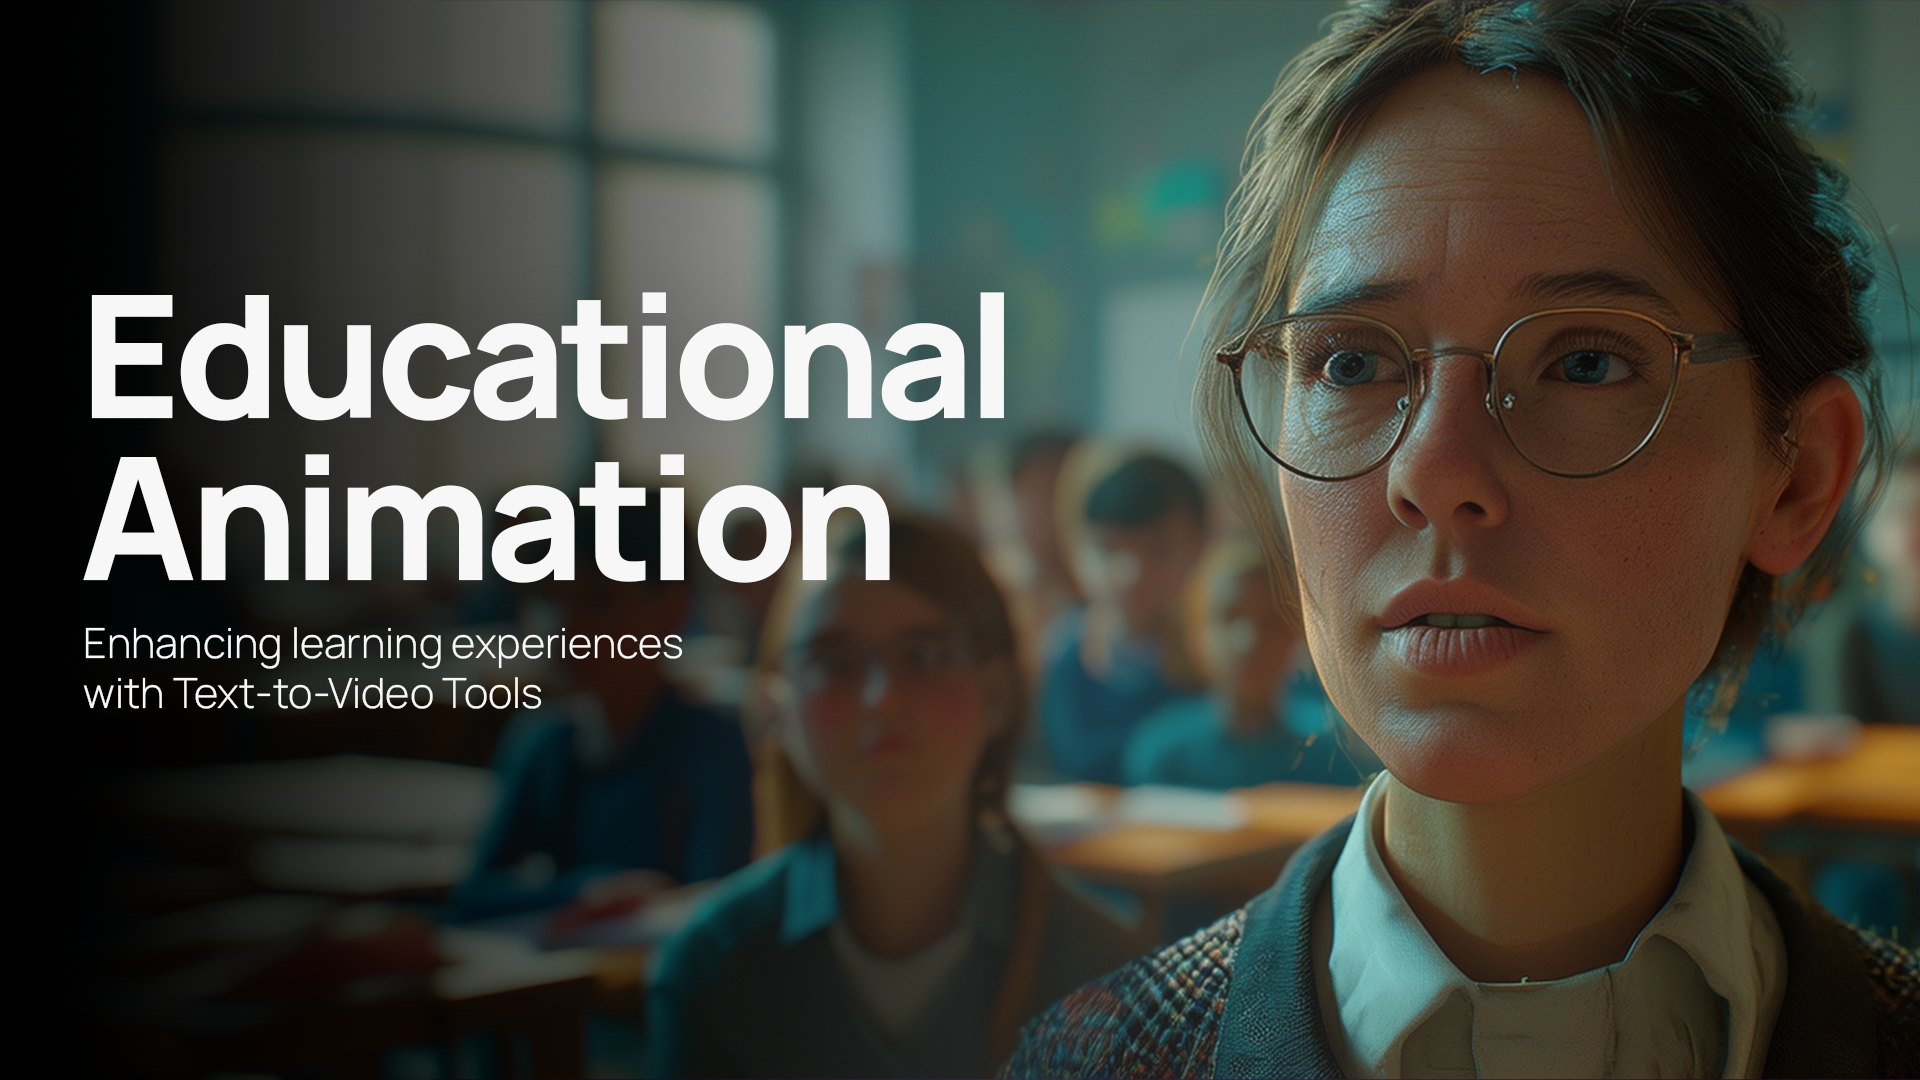
Explainer Videos & Educational Content
Who it's for: Coaches, teachers, YouTube educators
How it helps: Layer diagrams, text annotations, and screen recordings into an engaging, easy-to-follow explainer. Combine with background music or voiceovers to:
- Break down complex topics with visuals
- Add motion to static graphics or slides
- Create bite-size knowledge videos for social platforms or courses
Pro Tip: Use clear fonts, consistent colors, and pause points to enhance comprehension.
Recommended read: How to Make Educational Video
Brand Launch Videos
Who it's for: Startups, content creators, small businesses
How it helps: Highlight your brand identity with a cinematic reel of logo animations, product close-ups, and lifestyle imagery. Use layers to:
- Animate your logo reveal
- Showcase your product from multiple angles
- Add storytelling sequences with music and text
Pro Tip: Use the cinematic filter or pastel tones for an aesthetic, premium feel.
Video Resumes & Personal Intros
Who it's for: Freelancers, job seekers, content creators
How it helps: Combine clips of yourself talking, past work, and achievements into a professional reel. Add lower-thirds with your name, role, or tagline. You can:
- Introduce yourself with style and clarity
- Add testimonials or work samples
- Export in landscape for portfolios or vertical for LinkedIn/TikTok
Pro Tip: Start with a hook — a 5-second intro that sells your personality.
Tutorials & How-To Content
Who it's for: DIY influencers, beauty creators, tech channels
How it helps: Combine step-by-step clips with text instructions and transitions. Layer close-up visuals with voiceover or upbeat background audio. You can:
- Highlight key steps with animated arrows or labels
- Split longer tutorials into short-form clips
- Use pacing tools to speed up repetitive steps
Pro Tip: Keep text minimal and time it to appear with key actions.
Product Demos & Walkthroughs
Who it's for: Brands, affiliates, SaaS tools, marketplaces
How it helps: Record or generate product visuals and explain features with captions, icons, and calls-to-action. Use visual layering to:
- Show how a feature works while narrating
- Add transitions between features or screens
- Insert review quotes or ratings mid-video
Pro Tip: Use 1:1 format for Instagram Shops and 16:9 for YouTube.
Recommended read: How to Create Videos Ads with AI
Storytelling & Visual Poetry
Who it's for: Artists, fiction writers, indie filmmakers
How it helps: Stitch together AI-generated scenes, narrate emotional arcs, and apply cinematic transitions. Combine visuals with moody audio or poetic subtitles to:
- Create bite-size visual novels or mood pieces
- Animate concept art into expressive scenes
- Layer metaphors through visuals and text
Pro Tip: Pair dark filters with dramatic lighting and slow camera motion for added effect.
Benefits of Using ImagineArt AI Video Editor
- No Experience Needed: Simple drag-and-drop editing for non-editors.
- Faster Workflow: From raw clips to polished video in a few minutes.
- Fully Browser-Based: No downloads, updates, or software installs.
- Modular Control: Stack and style individual layers like a design board.
- Integrated with AI Workflow: Seamless import from other Imagine tools.
Video Editing Tips for Better Output
Here are some quick tips to level up your final result:
- Start with an outline: Know your video’s intro, middle, and end before editing.
- Use visual pacing: Alternate fast and slow scenes to hold attention.
- Add text early: Highlight key messages and CTA on screen.
- Preview with audio: Always test your video with music and voiceover for final feel.
- Test different formats: Export in vertical and square to maximize platform reach.
Recommended read: Video Editing Tips
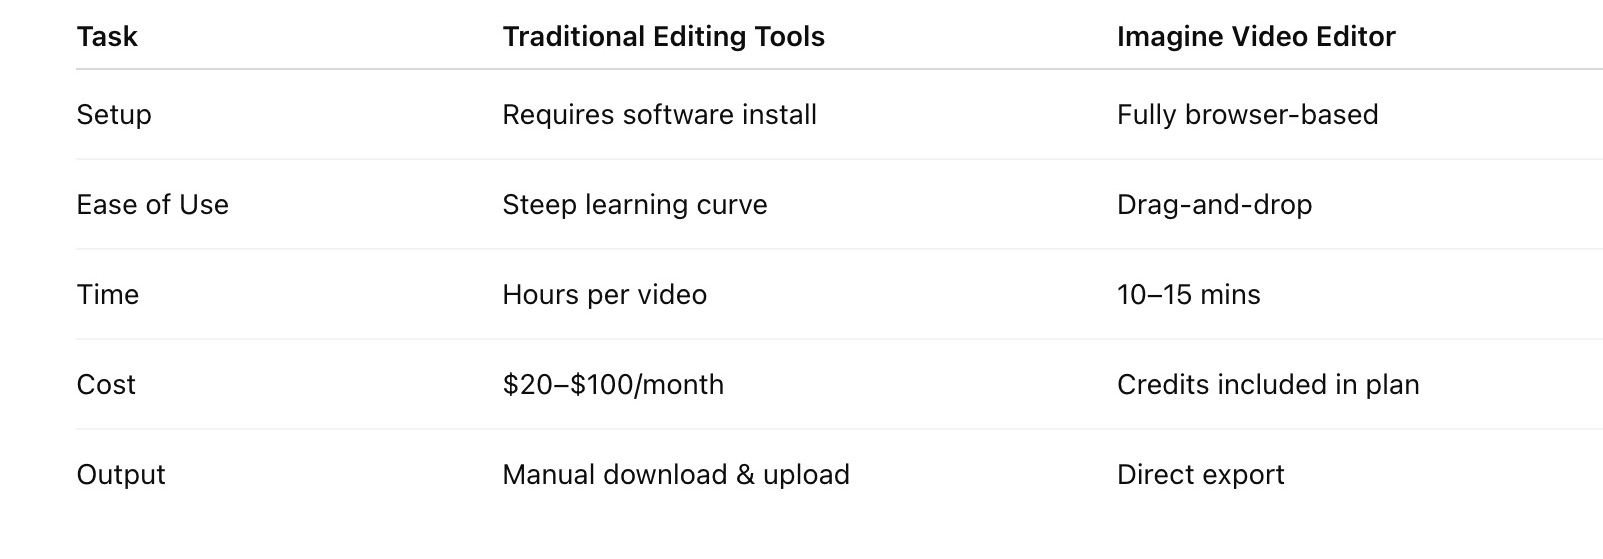
Why Use ImagineArt AI Video Editor vs Traditional Tools?
Final Thoughts
ImagineArt AI Video Editor is built for the new era of content creation — one where speed and flexibility matter more than traditional editing prowess.
Whether you’re an AI storyteller, a product marketer, or just someone who wants to craft better videos faster, the AI Video Editor puts cinematic polish within reach.
Frequently Asked Questions
Tooba Siddiqui
Tooba Siddiqui is a content marketer with a strong focus on AI trends and product innovation. She explores generative AI with a keen eye. At ImagineArt, she develops marketing content that translates cutting-edge innovation into engaging, search-driven narratives for the right audience.