
Tooba Siddiqui
July 14, 2025 • Updated June 24, 2026
10 mins Read
AI image to video turns a single still image into a cinematic video clip. Upload the image, write a prompt describing the motion and camera movement, select a model, and generate. No filming, no editing software, no storyboarding.
This guide covers the full ImagineArt workflow, how to choose the right model, cinematic camera motion prompts, and the use cases where AI image to video delivers the strongest results.
The most common mistake with AI image to video is treating it like text-to-video. When you start from text, you build the scene. When you start from an image, the scene already exists — your prompt controls only what moves and how the camera behaves. Getting that distinction right is what separates a video that looks shot from one that looks generated.
What Is AI Image to Video?
AI image to video is a generation process that takes a static image and produces a short video clip based on a motion prompt. An AI image to video generator reads the depth, composition, and scene context of your uploaded image and produces motion based on your text prompt — camera movement, lighting shifts, subject animation, or environmental dynamics. The result is a cinematic video that starts from a visual you already have, not a scene you have to build from text. Every generation in ImagineArt AI video generator starts from your image — your prompt controls what moves and how the camera behaves.
For natural photo animation and motion, like breathing, blinking, or hair movement, see the guide on how to animate a picture with AI
How to Turn Image to Video on ImagineArt: Step-by-Step Guide
Step 1 — Go to the Video Generator
Open ImagineArt and navigate to the AI image to video generator. This is ImagineArt's dedicated video creation tool, where a single image becomes a directed, cinematic video clip.
Step 2 — Select Reference I2V
Click Reference I2V AI video creation mode to use an image as your creative input. Unlike text-to-video where you build the scene from scratch, Reference I2V uses your image as the visual foundation — your prompt controls the camera, the motion, and the mood.
Step 3 — Upload your image
Upload up to four image references per generation. Use this to provide:
- A primary scene image plus a lighting or mood reference
- Multiple angles of a subject for more accurate spatial understanding
- A style reference alongside your main image to guide the visual treatment
Step 4 — Write your prompt
This is where image-to-video differs most from photo animation. Rather than describing subtle natural motion, you're directing a camera — controlling how it moves through or around the scene.
Use this formula: [Camera movement] + [@scene element] + [lighting] + [mood/style] + [pacing]
Use @ to reference specific uploaded images — @scene, @subject, @background — to direct the camera's relationship with each element.
Camera motion prompt examples:
- "Slow dolly-in toward @subject, depth of field pulling focus as the camera advances, golden hour backlight, cinematic color grade."
- "Smooth horizontal pan across @scene, natural motion blur on edges, overcast diffused light, documentary style."
- "Steady crane shot rising from ground level, @subject below becoming part of the wider landscape, atmospheric wide angle, slow and deliberate."
- "Rack focus shift from @foreground to @subject in background, depth revealed in stages, studio lighting, cinematic and intentional."
For a full library of prompts across text-to-video and image-to-video categories, see the AI video prompts guide.
Step 5 — Select your model
Below is a breakdown of top AI image-to-video tools and models on ImagineArt:
| Model | Best For |
|---|---|
| Hailuo | Cinematic realism, dramatic lighting |
| Kling | Smooth motion, commercial content |
| Veo 3 | High-detail scenes, complex camera paths |
| PixVerse | Stylized content, creative treatments |
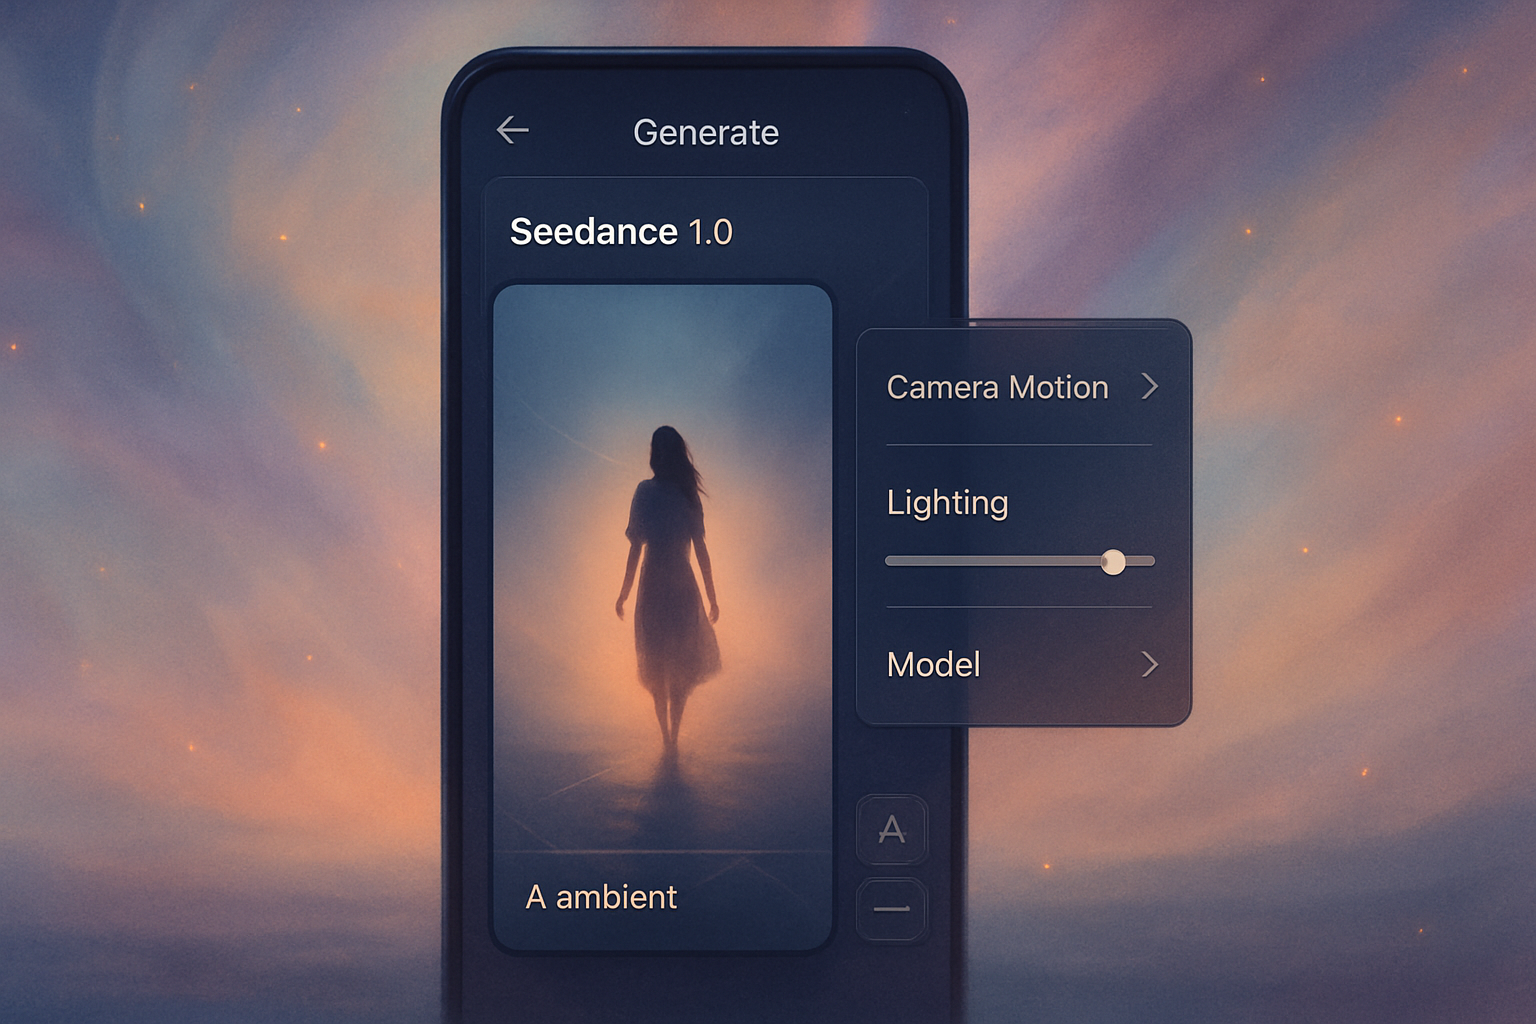
| Seedance 2 | 4K quality output across all styles |
Step 6 — Use the Prompt Enhancer (Optional)
Run your prompt through ImagineArt's prompt enhancer before generating. It refines cinematic language and camera instruction precision — particularly useful for complex multi-element scenes where the model needs to understand spatial relationships.
Step 7 — Set aspect ratio
- 16:9 — YouTube, cinematic presentations, desktop
- 9:16 — Instagram Reels, TikTok, YouTube Shorts
- 1:1 — Instagram feed, social ads
Step 8 — Set duration
Up to 15 seconds. Recommended by content type:
- Product videos and ads: 6–10 seconds
- Cinematic scene clips: 8–15 seconds
- Social media content: 5–8 seconds
Step 9 — Select video quality
For final exports and any content going on a product page, ad campaign, or high-visibility post — select 4K with Seedance 2. Use standard quality for prompt testing and quick iterations.
Step 10 — Generate and review
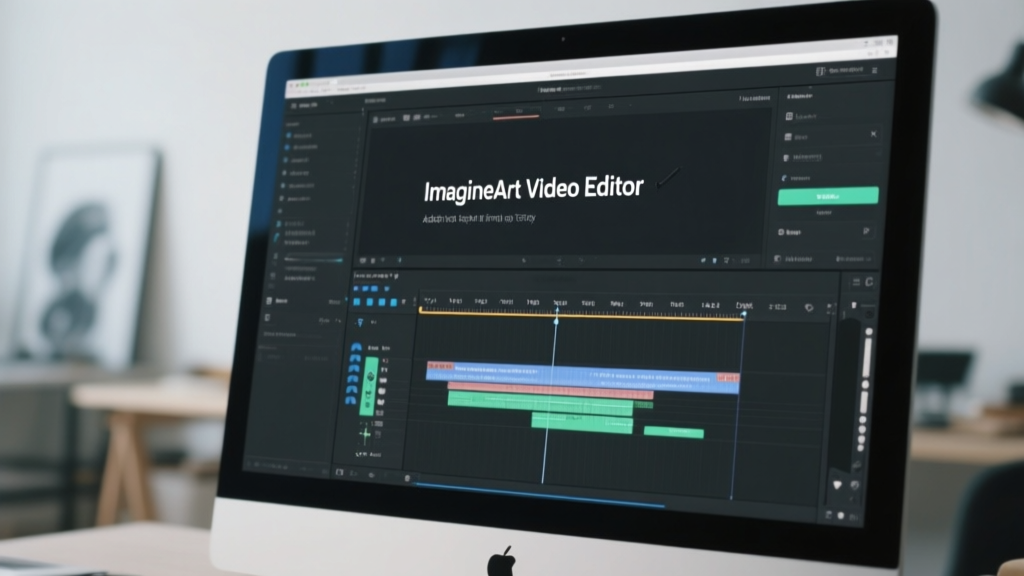
Run 2–3 variations. Cinematic camera motion has natural variance between outputs. Check that the camera path feels intentional, the subject stays properly framed throughout the clip, and the lighting from the source image is preserved. You can further refine the video generated from images on ImagineArt AI video editor and download the final video as MP4.
Camera Motion Prompts for AI Image to Video
Unlike animating a still photo — where the camera stays fixed and only the subject moves — cinematic image-to-video uses different types of camera movements as a storytelling tool. These prompts pair an uploaded image with specific camera behavior to create video that feels directed, not just animated.
Dolly and push shots
- "Slow dolly-in toward the subject, shallow depth of field pulling focus as the camera advances, cinematic color grade, natural ambient light."
- "Steady dolly-out revealing the full scene, subject remains centered, background expanding, wide cinematic framing."
Tracking and pan shots
- "Smooth horizontal pan across the scene, subject in motion paralleling the camera, natural motion blur on edges, documentary style."
- "Camera tracks alongside the subject at eye level, subtle handheld texture, urban environment passing behind, golden hour light."
Crane and aerial movement
- "Slow upward crane shot from ground level, subject below becoming part of the wider landscape, atmospheric wide angle."
- "Bird's eye pull-back revealing the full environment below, subject small against the scene, cinematic overhead perspective."
Zoom and rack focus
- "Slow push-in zoom on subject's face, background falling out of focus, emotional intensity building, tight portrait framing."
- "Rack focus shift from foreground detail to background subject, depth revealed in stages, cinematic and deliberate."
For a deeper understanding of how to prompt for camera movement, read our camera movement prompt guide for AI video creation.
Use Cases for AI Image-to-Video Generation
1. Social Media Teasers & Story Posts
Creators and influencers can turn a single image into a short cinematic video—perfect for grabbing attention on Instagram Reels, TikTok, or YouTube Shorts. Add movement, lighting, and sound to make your visuals feel alive, without editing software.
2. AI-Powered Storytelling & Visual Novels
Writers and digital artists can animate key scenes from their narratives using stylized camera motion and prompt-based tweaks. Use dark sci-fi or fantasy styles to bring entire story arcs to life—one frame at a time.
3. Marketing & Product Reveal Clips
Brands can upload static product shots or campaign visuals and add motion, lighting shifts, and dramatic music to create quick, engaging promos. Ideal for launching new products or giving static ads a video upgrade.
4. Educational & Explainer Content
Teachers, coaches, and ed-tech creators can animate infographics, diagrams, or concept art to build short, engaging visuals. Adding tone and sound helps simplify complex topics and hold viewer attention.
5. Concept Art Prototyping & Visual Development
Artists and studios can animate concept sketches, moodboards, or early illustrations to visualize how a scene might look in motion. Quickly test moods, lighting, and motion cues before diving into full production.
Text-to-Video vs Image-to-Video AI: When to Use Which
Direct answer: Use AI image to video when you have a specific visual you want to bring to life — a product photo, a campaign image, an editorial shot. Use text-to-video when you're building a scene from scratch with no existing visual to start from.
Both run through the same ImagineArt video generator. The input is different. The creative control is different. And the results suit different workflows.
| AI Image to Video | Text-to-Video AI | |
|---|---|---|
| Starting point | An existing image | A written description |
| Visual control | High — scene is already set | Lower — AI interprets the text |
| Camera control | Full — you direct movement through a known scene | Moderate — camera follows prompt interpretation |
| Best for | Product content, campaigns, editorial shoots | Conceptual content, scenes you can't photograph |
| Consistency | Output matches the source image | Output varies between generations |
| Time to result | Faster — no scene-building needed | Slower — prompt refinement required |
| Prompt focus | Camera motion and movement | Scene, subject, environment, action, lighting |
Use AI Image to Video When:
You have existing visual assets.
A product photo from a shoot, a campaign hero image, an AI-generated image you want to set in motion — any existing visual works as an input. AI image to video preserves the look of what you already have while adding cinematic movement.
Consistency matters.
When a brand needs the same product, face, or environment across multiple video clips, starting from a fixed image guarantees visual consistency that text-to-video cannot. Every generation starts from the same source.
You want cinematic camera motion on a controlled scene.
A slow dolly-in on a product. A crane shot rising from a landscape. A rack focus shift revealing a subject. These camera movements require a known scene to move through — image input gives the AI the spatial context it needs to execute them accurately.
You're producing social media ads or product content.
Ecommerce, paid social, and brand campaigns almost always start from existing visual assets. AI image to video turns a single product shot into a video ad without a production team.
Use Text-to-Video AI When:
The scene doesn't exist yet.
If you're generating a location you can't photograph, a concept that can't be captured on camera, or a creative scenario that exists only as an idea — text-to-video builds the scene entirely from your description.
You're ideating, not producing.
Text-to-video is faster for early-stage creative exploration. Describe a scene, generate a rough clip, evaluate the direction. No asset preparation required.
The exact visual isn't critical.
When the output doesn't need to match a specific product, person, or brand visual — text-to-video gives the AI more room to interpret and often produces more imaginative results.
Quick Decision
If you're holding an image and want it to move — use AI image to video. If you're starting from an idea with no visual — use text-to-video.
For animating a specific photograph with subtle natural motion — a portrait that breathes, a product that floats — the animate a picture with AI guide covers that specific workflow.
Ready to Turn Image to Video?
The future of video isn’t limited by gear, teams, or timelines—it’s guided by ideas. And with the rise of tools like Video Studio, the best AI video generation models are now available to anyone with a vision and an image.
With just a prompt and a picture, you can now create scroll-stopping, story-driven videos—perfect for social media, storytelling, and beyond.
Frequently Asked Questions About Image to Video AI
AI image to video generates a short video clip from a single still image. The AI reads the depth and content of the image and generates motion — either natural subject movement or cinematic camera motion — based on your text prompt.
On ImagineArt, go to the video generator, upload your image, write a motion and camera prompt, select a model, set duration and aspect ratio, and generate. The full workflow takes under two minutes.
ImagineArt image-to-video AI is one of best video generators that support multiple models including Hailuo, PixVerse, Kling, and Veo 3 — each suited to different content types. The model guide in this blog maps each model to its best use case.
Image to video starts from an existing still — your prompt controls motion and camera. Text to video builds the entire scene from a written description. Image to video gives you more control over the visual output; text to video gives you more creative freedom.
High-resolution images with clear subjects, defined depth, and interesting composition. Images with natural depth layers — foreground, subject, background — give the AI more to work with for camera motion.
Duration varies by model. ImagineArt supports clips up to 15 seconds depending on the selected model and quality setting.
No. ImagineArt's Reference I2V requires only an image and a text prompt. No timeline editing, no keyframes, no software installation.
ImagineArt offers free AI image-to video generation. Check current plan details on ImagineArt for generation limits and quality options.
Tooba Siddiqui
Tooba Siddiqui is a content marketer with a strong focus on AI trends and product innovation. She explores generative AI with a keen eye. At ImagineArt, she develops marketing content that translates cutting-edge innovation into engaging, search-driven narratives for the right audience.