
Syed Anas Hussain
June 3, 2026 • Updated June 7, 2026
12 mins Read
I showed up to my first proper short film shoot with a script, a shot list, and the quiet confidence of someone who had never directed anything before. By hour two we were behind schedule, the DP was improvising angles on the fly, and three scenes we thought would take one afternoon took four days total. The storyboard I did not make would have solved most of that. Learning how to create a film storyboard is not a formality for large productions — it is the tool that separates a shoot that executes a plan from one that figures it out in real time.
What Is a Film Storyboard?
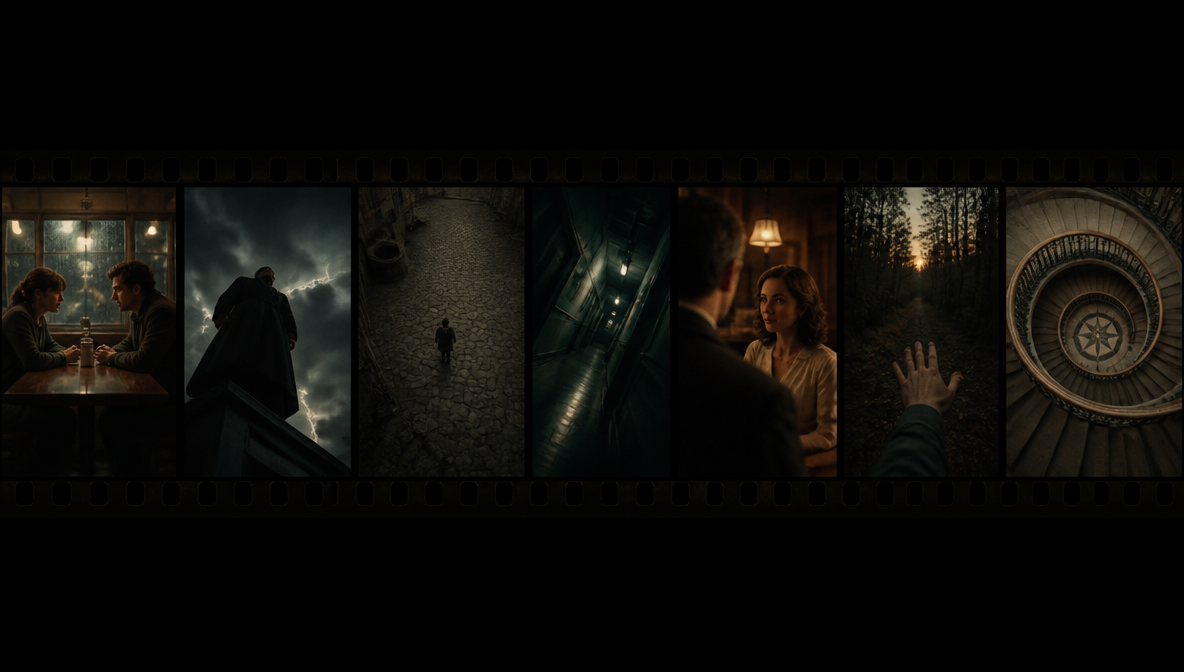
A film storyboard is a sequence of illustrated or visual frames that represent the planned shots of a film or video before production begins. Each frame shows what the camera sees — the subject position, framing, angle, and any action or movement in the shot — with notes on dialogue, sound, and camera direction.
Storyboards live in pre-production. Their job is to translate a written script into a visual plan before any camera rolls, making creative decisions on paper where changes are free rather than on set where changes cost time and money.
Every major film, commercial, and narrative video production uses storyboards. The concept was developed by Walt Disney Studios in the early 1930s. Today they are standard for features, short films, ads, music videos, and any video project where visual planning saves production time.
Why Every Filmmaker Should Storyboard (Even on Short Projects)
The argument against storyboarding is always time. Here is what happens instead: the production time you save by not storyboarding reappears on set, and it costs more there.
Storyboarding gives you specific advantages that nothing else replicates:
- Shot clarity before you are on the clock. On set, everyone is waiting for direction. A storyboard answers those questions before you arrive.
- Continuity control. Films are not shot in order. The storyboard tracks which shots connect to which, eyeline directions, and prop positions when you cut between scenes shot days apart.
- Creative communication. A storyboard gives everyone — the DP, actors, production designer — a shared visual reference. Direction becomes specific instead of descriptive.
- Character and location design. Storyboarding lets you define how characters look and how locations are staged before filming. For AI filmmakers, locking character references before generating clips keeps characters consistent across every shot. The AI Character Consistency guide covers exactly how to do this inside ImagineArt Film Studio.
- Pre-visualization of problems. Sketching a shot often reveals issues — an angle that requires an impossible camera position, a sequence that cuts awkwardly. Cheap to fix in a storyboard, expensive to fix on set. I have never finished a project with a storyboard and wished I had not made one. The same is not true the other way around.
What You Need Before You Start Your Storyboard
Before you draw anything:
- A script or detailed outline. The storyboard represents what the script describes — scene descriptions, action beats, dialogue.
- A shot list. The text version of your storyboard. Scene by scene: shot type, angle, movement, purpose.
- Basic camera angle knowledge. You need to know wide shot, medium shot, close-up, over-the-shoulder, and POV. The Types of Camera Movements guide covers all 16 foundational movements — useful to have open while building your shot list.
- A storyboarding format. Paper, software, or AI-assisted frames — what matters is committing each planned shot to a fixed reference.
How to Create a Film Storyboard: Step by Step
Work through these steps in order. Each one builds on the previous.
Step 1: Break Your Script Down Scene by Scene
Read through the script and mark scene boundaries — every time location, time of day, or primary action changes significantly. Within each scene, identify the key story beats: moments of action, dialogue, or emotion the scene needs to land. Each beat is a candidate for a storyboard frame.
You do not need a frame for every line of dialogue. You need a frame for every time the camera setup changes.
Step 2: Build Your Shot List for Each Scene
For each scene, list the shots:
- Shot type: wide, medium, close-up, insert, POV, over-the-shoulder
- Camera angle: eye level, low angle, high angle, Dutch angle, bird's eye
- Camera movement: static, pan, tilt, dolly, handheld
- Duration and purpose: what is happening and why the camera is there
Step 3: Set Up Your Storyboard Template
A standard storyboard template needs:
- A frame box in your final video's aspect ratio (16:9 for horizontal, 9:16 for vertical)
- A scene and shot number label
- A notes field below each frame for action, camera movement, and dialogue
Three frames per row gives enough space for meaningful notes. Most standard layouts run three to six frames per page.
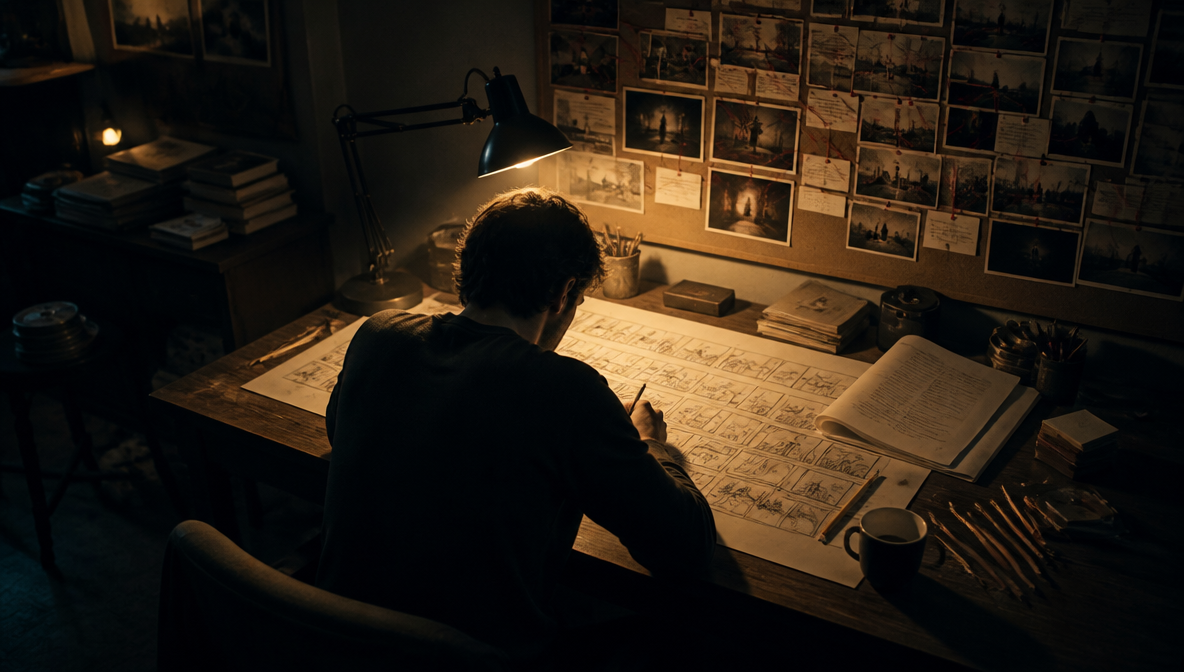
Step 4: Sketch Your Frames
You do not need to be able to draw. Stick figures and rough shapes are widely used in professional productions — this stops more people from storyboarding than it should.
Every frame needs to show:
- Where subjects are positioned in the frame
- What the focal object or person is
- The rough composition (centered, offset, foreground vs background)
Draw fast. The goal is information density, not artistic quality.
Step 5: Add Camera Movement Indicators
Moving shots need directional indicators drawn directly onto the frame:
- Horizontal arrow sweeping across = pan
- Arrow pointing toward camera position = zoom in or push-in
- Arrow pointing away = pull-back
- Arrows on subjects = character action direction
- Label abbreviations: CU, OS, WS, MCU
If you are generating storyboard frames with AI, translating movement types into prompts is the key skill. The AI Camera Movement Prompts guide gives you 50 ready-to-use prompts organized by movement type.
Step 6: Write Scene and Action Notes
Below each frame, write:
- The shot description in brief
- Key dialogue that accompanies or triggers the shot
- Sound or music notes
- Transition type to the next shot (cut, dissolve, fade)
Notes do not need to be long. "MCU on her face, silent, slow push-in as she reads, hard cut to wide" is enough.
Step 7: Review for Continuity
This is the most important step that gets skipped most often. Go through the completed storyboard as if you are editing the footage. Ask:
- Does each frame flow logically to the next?
- Are eyelines consistent? If character A looks left toward B, character B should be looking right.
- Are props in the same position between frames representing continuous action?
- Does the scene feel like it will cut together?
Continuity errors caught in the storyboard cost zero time. Caught in the edit, they mean reshoots.
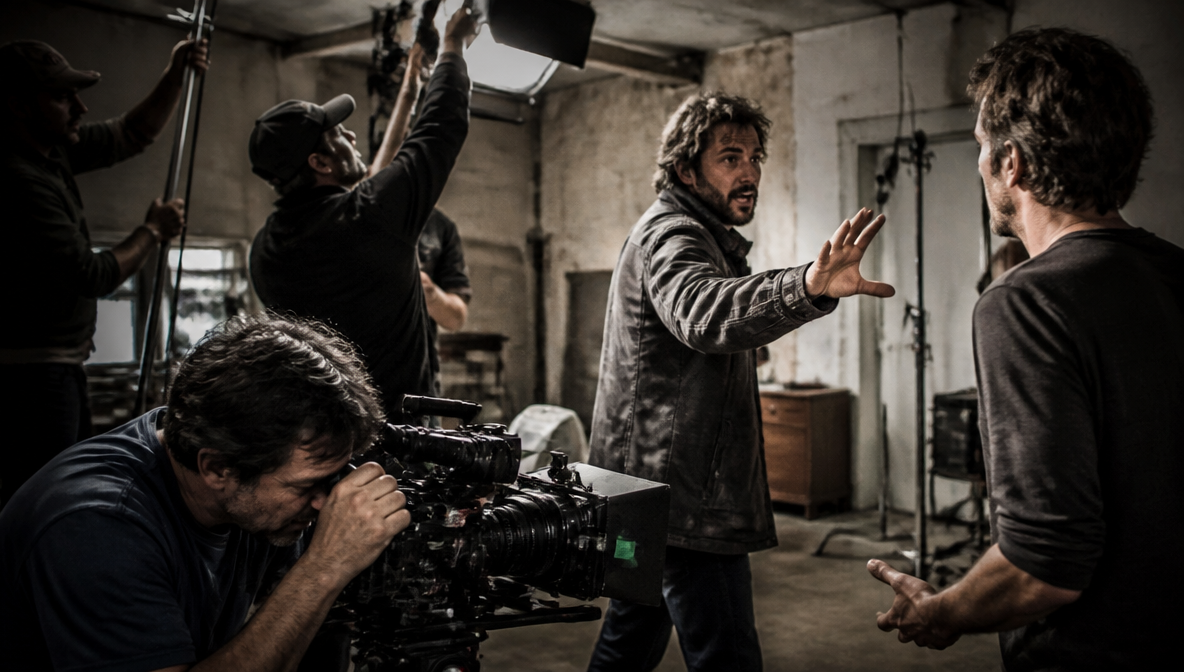
Step 8: Share and Get Feedback
Send the storyboard to your DP and key collaborators before the shoot. The frames surface questions you have not considered, flag problems with planned angles, and often improve the shots before anything is filmed.
Camera Angles Every Film Storyboard Needs to Cover
- Eye-level — neutral, objective, standard dialogue
- Low-angle — subject appears dominant or powerful
- High-angle — subject feels small, vulnerable, or exposed
- Dutch angle — unease, disorientation, psychological tension
- Over-the-shoulder — grounds spatial relationship between characters
- POV — viewer feels what the character experiences
- Bird's eye — establishes relationships between people and spaces
Most storyboards rotate through four or five of these within a single scene. Overusing any one angle is one of the most common mistakes in early storyboard work.
Storyboarding Dos and Don'ts
Knowing how to create a film storyboard well means knowing what separates effective boards from ones that cost time on set. These are the rules that matter.
The Dos
Do give every cut a reason. Every time you change the camera setup in your storyboard, be able to answer: why is the camera moving here? Cuts should shift the viewer's focus to something important — a reaction, a detail, a change in power dynamic. Cuts for the sake of visual variety create confusion, not momentum.
Do think in sequences, not individual frames. A storyboard is an editing plan. Each frame should flow logically to the next. Before you draw, ask: how does this shot connect to the one before and after it? The frame-to-frame relationship is what determines whether footage cuts together.
Do draw the arrows. Camera movement indicators — push-ins, pans, tilts, tracks — belong directly on the frame, not just in the notes. A frame that shows a static composition but has a note saying "slow push-in" misses the point. The movement changes the composition. Draw it.
Do check eyelines carefully. If character A looks left at character B in one frame, character B must look right in the reverse angle. Broken eyelines feel wrong immediately in the edit and are invisible in isolated frames. Walk through every dialogue exchange and verify the sightlines are consistent.
Do review the board as an edit before the shoot. The final pass through your storyboard should simulate what it feels like to watch the cut footage. If something feels off in sequence, it will feel off on screen.
The Don'ts
Don't spend time making frames look beautiful. The frame is a communication document, not artwork. Time spent on illustration quality is time not spent on shot planning. Stick figures communicate framing. Finished drawings do not communicate anything that rough sketches cannot.
Don't storyboard angles that are physically impossible in your location. Know your location before committing to specific frames. A planned angle that requires a camera position inside a wall, or requires lighting that doesn't exist in the space, creates problems on shoot day that the storyboard made invisible.
Don't create too many frames for simple scenes. Figure out how many distinct camera setups a scene needs before you start drawing. Most two-minute scenes need eight to twelve setups. Creating a frame for every line of dialogue produces a storyboard that slows down rather than guides production.
Don't ignore transitions between shots. A storyboard full of static frames tells you the compositions but nothing about rhythm. Thinking through cut transitions while storyboarding catches pacing problems before the edit reveals them.
Don't skip the continuity review. Every storyboard needs a dedicated pass looking only for eyeline matches, prop positions, and spatial consistency. This is where most continuity errors are caught — and the step that gets dropped when people are in a hurry.
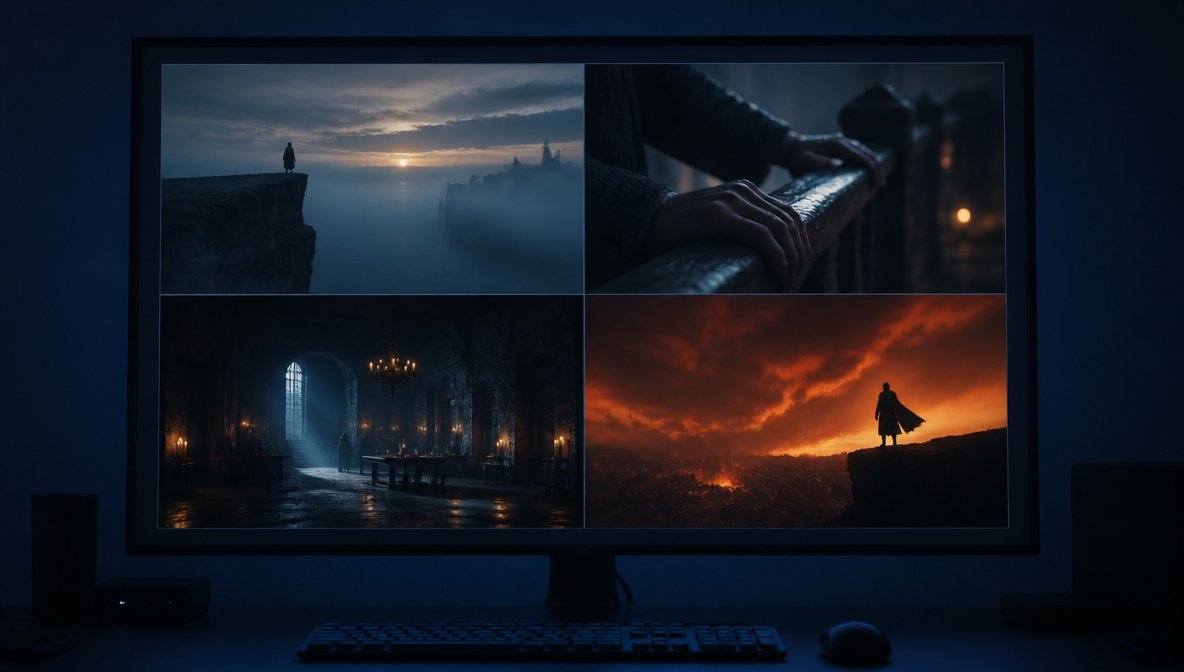
How to Create a Film Storyboard with AI Using ImagineArt Film Studio
Traditional storyboarding requires either drawing ability or a storyboard artist. ImagineArt AI Film Studio gives you a third option: generating visual pre-visualization frames from text prompts before anything is filmed — with no drawing required.
Here is how the process works, step by step:
Step 1: Open Film Studio and create a new project.
Log in to ImagineArt and open Film Studio. Create a new project and give it a name that matches your production.
Step 2: Go to the Image tab and enable Storyboard Mode.
In the Image tab, find the Storyboard toggle and enable it. This switches the generator into sequential frame mode, where each generation produces a set of connected frames rather than a single image.
Step 3: Set your scene count.
You can generate up to four scenes per sequence. Set the scene count based on how many distinct moments your scene has. For a dialogue exchange with an establishing shot, a two-shot, and two close-ups, set it to four.
Step 4: Set your Camera controls.
In the Camera section, dial in the lens type, focal length, and aperture you are planning for the scene. This is not decorative — it determines how the generated frames will compose the subject and background. A 24mm lens produces a wide environmental frame. An 85mm isolates the subject from it. Set these to match your actual planned cinematography.
Step 5: Write a prompt for each frame.
Describe what the camera sees: the subject, the framing, the angle, the mood, the lighting. Be specific. "Low-angle wide shot of a woman standing at the edge of a cliff at dawn, overcast dramatic sky, cinematic shallow depth of field" gives the system something to work with. Vague prompts produce vague frames.
Step 6: Set the Genre.
Match the Genre to the visual register you are working toward: Cinematic, Documentary, Drama, Commercial. Genre affects color treatment, contrast, and the overall visual language of the generated frames.
Step 7: Generate and review.
Generate the sequence and review each frame as a pre-visualization of your planned shot. Ask: does this composition work? Does the lighting match what I need? Does the sequence feel like it will cut together?
Step 8: Use the frames as production references.
Export or screenshot the generated frames and include them in your storyboard document. Share directly with your DP and crew as shot references. The frames communicate visual intent clearly without requiring artistic skill to produce.
The result is a complete film storyboard created from your shot descriptions, in the visual aesthetic of the film you are planning, in a fraction of the time traditional illustration requires.
For prompting specific shot types, genres, and camera styles in your storyboard frames, the AI film prompts guide covers the visual language that gets the best results.
Frequently Asked Questions
A film storyboard is a sequence of illustrated or visual frames representing the planned shots of a film before production begins. Each frame shows the camera framing, subject position, angle, and movement for a specific shot, with notes on dialogue, sound, and transitions. Storyboards translate a written script into a visual production plan.
No. Storyboards are communication tools, not finished artwork. Stick figures and rough shapes are widely used in professional productions. What matters is that each frame communicates the framing, subject position, and movement clearly. AI tools like ImagineArt Film Studio also let you generate visual storyboard frames from text descriptions without drawing at all.
Each frame should show the composition of the shot — subject positioning, framing, focal point — the camera angle, and any movement indicated by arrows. Below the frame, notes should include the shot description, key dialogue, sound notes, and transition type.
One frame per significant camera setup change, plus frames for key emotional or story moments. A two-minute scene typically has eight to fifteen frames. You do not need a frame for every line of dialogue.
A shot list is a text document listing each planned shot with its type, angle, subject, and camera movement. A storyboard is the visual version of that list, with frames showing what the camera sees. Shot lists are faster to create. Storyboards communicate visually and are more effective when sharing a vision with a full production crew.
Yes. ImagineArt Film Studio's Storyboard Mode generates visual frames from text prompts. You describe each planned shot, set the visual genre and camera controls, and the system generates pre-visualization frames representing your intended composition and mood.
Do give every cut a reason, think in sequences, draw movement arrows on frames, check eyelines carefully, and review the board as an edit. Don't spend time on illustration quality, storyboard impossible angles, create too many frames for simple scenes, ignore transitions, or skip the continuity review.
Wrapping Up
Knowing how to create a film storyboard is one of the highest-leverage skills in filmmaking — you do the work once, upfront, instead of doing it repeatedly on set in front of a waiting crew. The format does not matter: rough pencil sketches, digital templates, or AI-generated frames all work. What matters is making the visual decisions before you show up with a camera.
ImagineArt Film Studio's Storyboard Mode is the fastest path from script to visual pre-visualization available today. If you have a film project in the works, that is where to start.
Syed Anas Hussain
Syed Anas Hussain is a computer scientist blending technical knowledge with marketing expertise and a growing passion for AI innovation. Curious by nature, he dives into new AI sciences and emerging trends to produce thoughtful, research-led content. At ImagineArt, he helps audiences make sense of AI and unlock its value through clear, practical storytelling.