
Tooba Siddiqui
April 29, 2026 • Updated May 6, 2026
8 mins Read
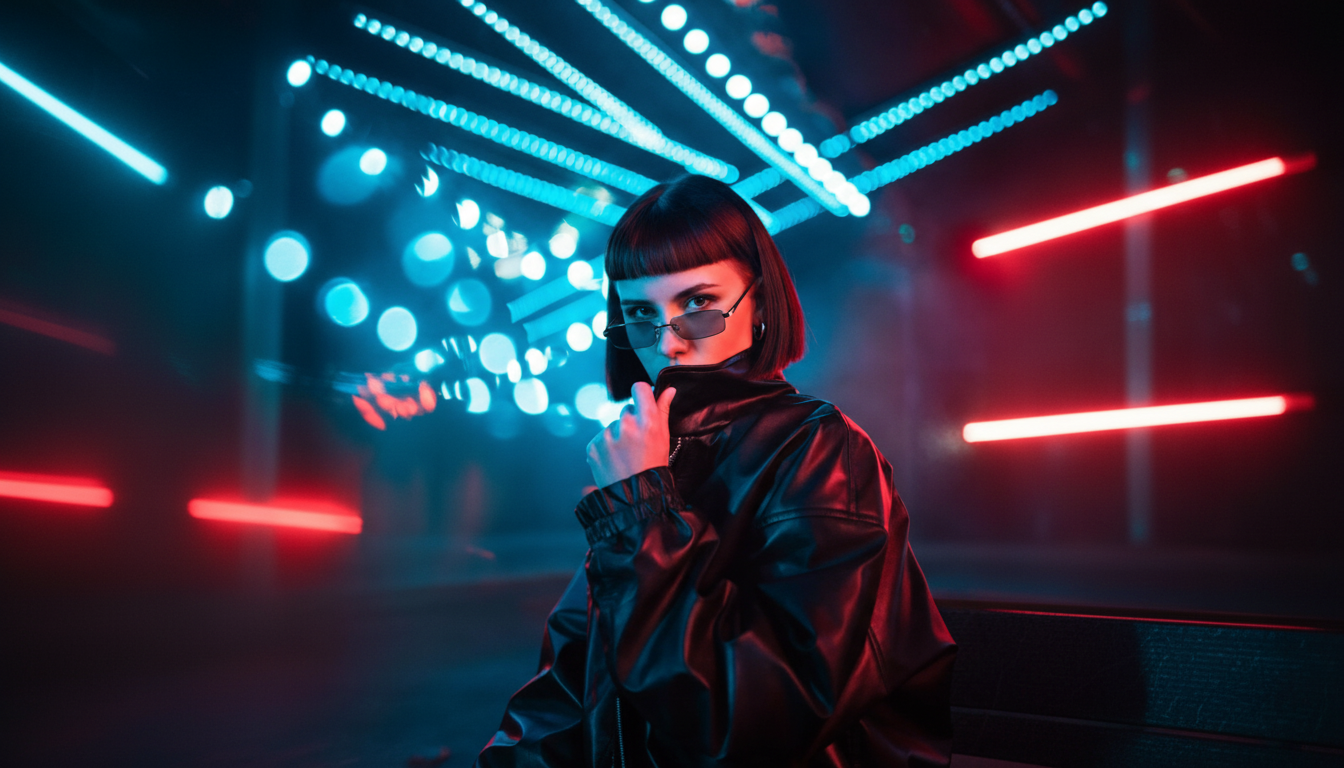
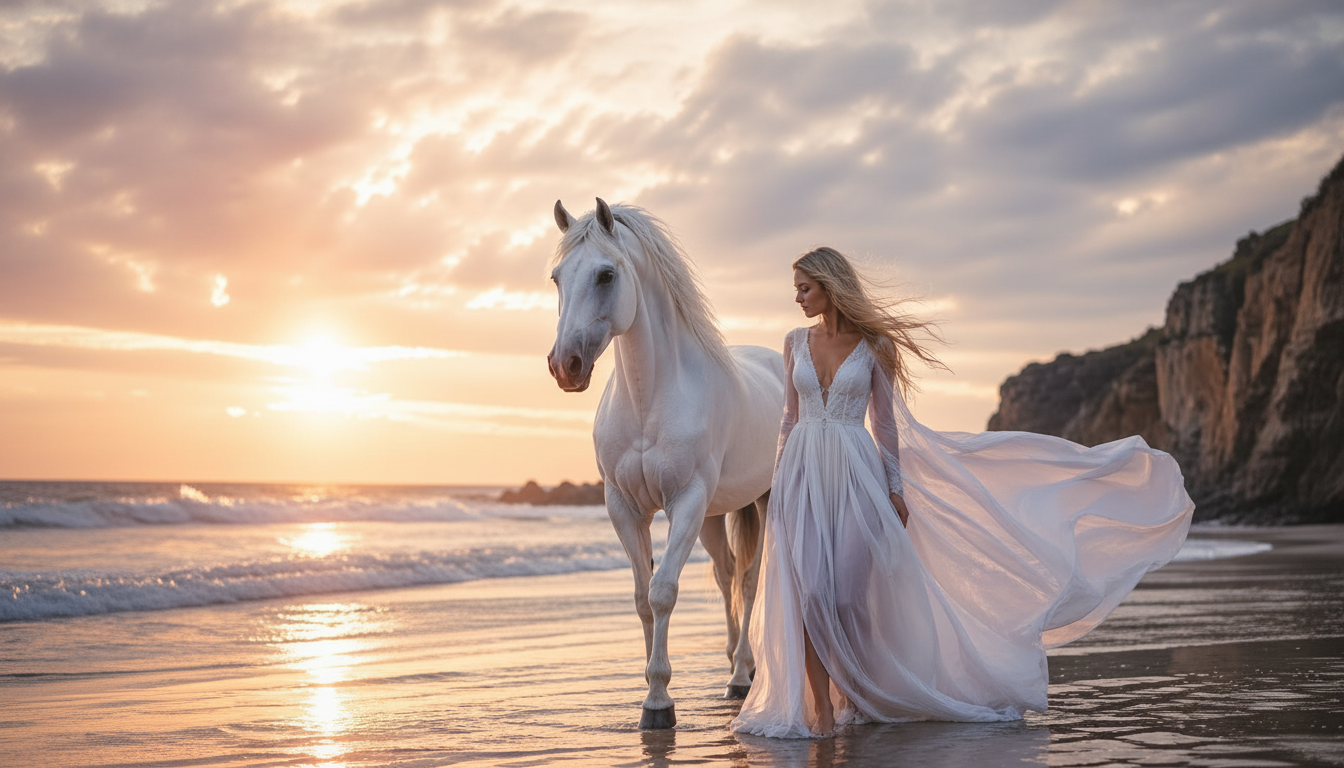
Most AI video generators treat prompts as directions — describe the shot well enough and hope the model figures out the rest. HappyHorse 1.0 is built for people who already know what the shot should look like. On ImagineArt, you set the camera movement, define subject action, and lock keyframe transitions before generating — the model executes your direction rather than guessing at it.
What Is HappyHorse 1.0?
HappyHorse 1.0 is a next-generation AI video model built on a single-stream 40-layer Transformer architecture with 15 billion parameters, producing native 1080p HD video from text prompts or reference images with integrated audio generation in a single pass. It supports both text-to-video and image-to-video generation across 50+ visual styles, six aspect ratios, and generates at an average speed of 10 seconds per clip.
For a full breakdown of its architecture, benchmark results, and competitive positioning against Seedance 2.0, Kling 3.0, and Sora 2, see the HappyHorse 1.0 overview guide.
How to Access HappyHorse 1.0
Via ImagineArt
HappyHorse 1.0 is available directly on the ImagineArt AI Video Generator — no separate account, API key, or external platform required. The platform includes free tier with 100 daily credits that refresh every 24 hours. Paid plans start from $9/month with commercial use included across all 28 models on the platform.
On ImagineArt, you can:
- Generate high-volume video content via AI workflows
- Utilize the multi-modal input system
- Create videos that match compatibility requirements of multiple platform
- Benefit from credit-based system for flexible usage
In addition to ImagineArt, HappyHorse 1.0 is also available on fal.
How to Use HappyHorse 1.0 on ImagineArt: A Step-by-Step Guide
Camera control, action movements, start frame, and keyframe support are exclusive to ImagineArt's implementation of HappyHorse 1.0. These controls are built directly into the generation interface — you won't find this combination on other platforms offering HappyHorse access.
 ImagineArt AI video generator dashboard
Step 1: Select HappyHorse 1.0 on ImagineArt
Open the ImagineArt AI Video Generator, open the model selector, and choose HappyHorse 1.0. The interface updates to show HappyHorse's full generation panel: prompt input, start frame upload, video effects, action movements, and keyframe controls.
Step 2: Choose Your Generation Mode
On ImagineArt, HappyHorse 1.0 supports two generation modes:
- Text-to-video: generate entirely from a written prompt. HappyHorse reads complex prompt structures accurately: you can specify camera behavior, action sequences, and visual style within a single prompt and it follows each instruction independently rather than averaging them into a compromise output. This is where the 15 billion parameter architecture makes a practical difference — scene descriptions that cause inconsistencies in lower-parameter models (complex spatial relationships, layered action, multiple subjects) stay coherent in HappyHorse outputs.
- Image-to-video: upload a start frame and generate motion forward from that image. HappyHorse preserves the composition, lighting, character, and visual style of the reference and synthesizes natural motion from that starting point.
If you have a reference image, use image-to-video. If you are generating from scratch, text-to-video gives you full creative control through the prompt.
Step 3: Add Your Start Frame (Image-to-Video)
If you are using image-to-video mode, upload your reference image in the start frame field. HappyHorse accepts standard image formats. The uploaded image becomes the first frame of your generated video — HappyHorse preserves its visual properties and animates forward from there.
This is useful for:
- Character animation: upload a character portrait and animate it into motion
- Product videos: start from a product shot and add motion without altering the composition
- Storyboard-to-video: convert illustrated or photographed storyboard frames directly into moving scenes
For best results, upload images at the resolution of your intended output. If you are using text-to-video, skip this step and move directly to your prompt.
Step 4: Write Your Prompt
Structure your prompt to cover four elements:
- Subject: who or what is in the scene
- Action: what the subject is doing
- Environment: where the scene takes place and what the setting looks like
- Mood and style: lighting quality, visual tone, and the overall aesthetic you want
Example prompt structure:
A woman in a red coat walking through a rain-soaked Tokyo street at night, neon signs reflecting in puddles, slow deliberate pace, cinematic wide shot, film noir atmosphere
Be specific. HappyHorse reads layered instructions. The more precise your prompt, the more accurately the output matches your intent. Read more about prompting for HappyHorse 1.0 on ImagineArt blog.
Step 5: Select Camera and Action Effects
Before generating, set your output parameters — aspect ratio (16:9, 9:16, 1:1, 4:3, 3:4), duration (4–15 seconds), and resolution (720p or 1080p) — then move to the video effects panel.
The camera control panel gives you direct control over how the virtual camera moves during generation. Each effect is applied at the generation level — not as a post-processing filter — which means the scene content responds to the camera movement rather than being cropped or shifted after the fact.
Choose from a variety of camera movements:
- Tilt Up: camera rotates upward on a fixed axis; useful for revealing height, scale, or an upward reveal of a subject
- Tilt Down: camera rotates downward; works well for descending reveals or grounding a scene
- Pan Left: horizontal sweep to the left; standard tracking or environmental reveal
- Pan Right: horizontal sweep to the right; mirrors pan left for tracking motion or lateral reveals
- Zoom In: camera pushes toward the subject; creates intensity, focus, or dramatic emphasis
- Pan Out: camera pulls back to widen the frame; effective for context reveals, establishing shots, and releasing tension
The action movements control works alongside camera control, defining how subjects and elements within the scene behave — separate from how the camera moves. Apply action movements independently or layer them with different types of camera movements. A pan right combined with a subject walking left, for example, creates counter-movement that reads as naturalistic tracking footage rather than a generated clip.
Step 6: Set Keyframes
HappyHorse 1.0's keyframe system lets you define specific visual states at points within the generated video — giving you control over how the video moves between its start and end states rather than leaving the motion path entirely to the model's synthesis.
Default keyframes include pre-built transition shots — standard cinematographic transitions that connect scene states smoothly. These are particularly effective for:
- Multi-shot sequences: defining a cut or transition between two visual states within one generation
- Style transitions: shifting visual tone or environment mid-clip
- Narrative punctuation: using a transition to signal a scene change or time shift
This is what makes HappyHorse 1.0 suitable for multi-shot storytelling in a single generation pass, rather than generating individual shots and editing them together manually.
Step 7: Generate, Review, and Iterate
Click generate. HappyHorse 1.0 produces your video in approximately 10 seconds. Review the output against your prompt — check that the camera movement matches your selection, the subject action is accurate, and the visual style matches your description.
If the output needs adjustment:
- Camera or motion off → adjust the video effects or action movement selection, not the prompt
- Scene content off → refine the prompt; add specificity to the element that didn't render correctly
- Style off → add explicit style descriptors to the prompt (film grain, shallow depth of field, golden hour lighting)
- Video refinement → use the built-in ImagineArt AI video editor to edit video elements
What Can You Create with HappyHorse 1.0?
Short Films and Cinematic Content
HappyHorse 1.0's multi-shot storytelling and keyframe system make it effective for short film production. Use keyframe transitions to connect scenes, camera controls to establish cinematic language, and the start frame feature to maintain visual consistency across shots.
Social Media and Reels
At native 1080p with 9:16 aspect ratio support and ~10 second generation speed, HappyHorse 1.0 fits directly into a social content workflow. Generate Reels, TikTok clips, and YouTube Shorts without post-production scaling or resolution loss.
Product Videos and Advertising
Start from a product photograph using the start frame feature and animate it with camera control — a zoom in for a detail reveal, a pan out for a lifestyle context shot. The 99.5% generation success rate makes it practical for volume production across multiple product SKUs.
Music Videos
HappyHorse 1.0's integrated audio generation and beat-responsive motion synthesis make it suited for music video production. The camera control system — pan, zoom, tilt — maps naturally to musical phrasing and rhythm.
Character-Driven Storytelling
The start frame feature combined with action movements lets you build character-consistent video sequences from a single character reference. Upload the same reference image across multiple generations with different prompts and camera controls to maintain visual identity across a multi-shot narrative.
Ready to Create AI Videos with HappyHorse 1.0?
HappyHorse 1.0 is available on ImagineArt alongside Kling AI, Veo 3.1, Seedance 2.0, and 25 other video models — all under one login and one credit system. Generate your first video on the free tier, test the camera control system, and see why it leads the leaderboard.
Frequently Asked Questions
Developed by Alibaba, HappyHorse 1.0 is an AI video generation model built on a 40-layer Transformer architecture with 15 billion parameters, producing native 1080p video from text prompts or reference images in approximately 10 seconds. It ranks #1 on the AI video leaderboard for both text-to-video and image-to-video generation as of April 2026.
Yes. ImagineArt offers a free tier with daily credits that includes access to HappyHorse 1.0 alongside all other models on the platform. Paid plans start from $9/month with commercial use included.
HappyHorse 1.0 supports six aspect ratios: 16:9 (landscape), 9:16 (vertical/Reels), 4:3, 3:4, 21:9 (cinematic widescreen), and 1:1 (square). Select your aspect ratio in the generation settings before prompting.
HappyHorse 1.0 leads on leaderboard ranking and generation speed. Kling AI leads on physical motion accuracy for character-driven scenes. Seedance 2.0 leads on multimodal reference input — accepting up to 12 simultaneous files including audio. HappyHorse 1.0's camera control system and keyframe support make it the strongest choice for cinematically structured video generation.
Yes. Commercial use is included on all paid ImagineArt plans from $9/month. Verify your specific plan terms before using generated content in client or paid advertising work.
Tooba Siddiqui
Tooba Siddiqui is a content marketer with a strong focus on AI trends and product innovation. She explores generative AI with a keen eye. At ImagineArt, she develops marketing content that translates cutting-edge innovation into engaging, search-driven narratives for the right audience.