
Kamran Arshad
November 2, 2026 • Updated November 4, 2026
11 mins Read
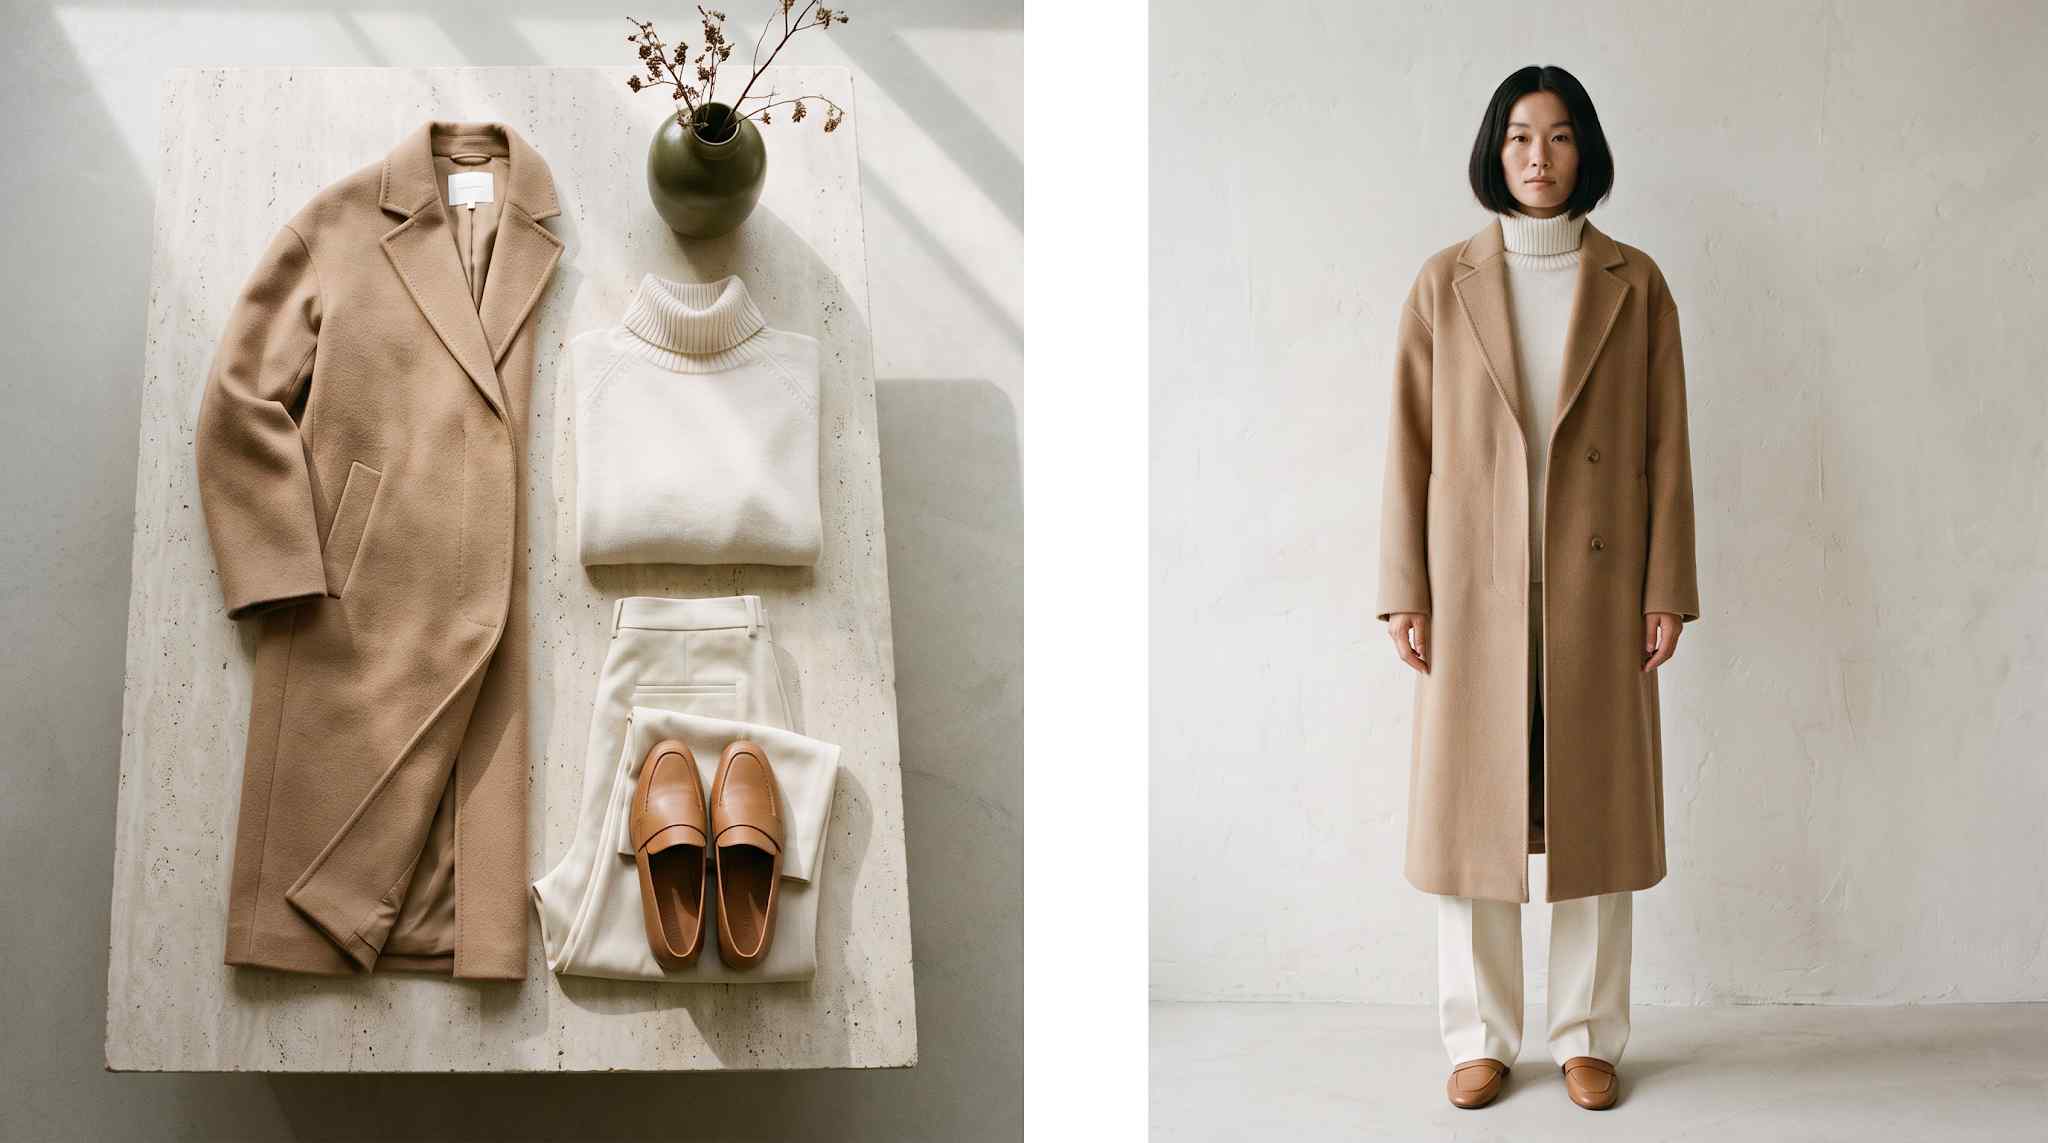
A flat lay tells a shopper what a garment is. It cannot tell them whether it will work on them. That gap is where sales stall and sizes get guessed. AI can close it: you upload a clean photo of the real garment, choose a model, set the scene and direct the pose, and you get the worn image your product page was missing.
Turning flat lays to studio-grade on-model stills come down to one rule: the image must tell the truth about the garment. And you'll learn how to do it in this guide.
Want to try it on your own garment while you read? Open ImagineArt Fashion Studio, upload a flat lay, pick a model and see it worn.
Why shoppers need the worn image
Apparel is sold on how it looks on a body, and a flat lay cannot show that.
The Baymard Institute, which runs large-scale usability tests on e-commerce sites, found that plain cut-out product images are not enough for products designed to be worn. Shoppers use a human body as their yardstick for length, tightness and drape. Without one, they have to imagine it, and many are not confident enough to buy.
Three findings from that research shape everything below:
-
Show at least one plain, unstyled worn image.
Tucks, rolled sleeves and pins hide the fit. One of Baymard's test users could not judge a hoodie's sleeve length because the model had pushed the sleeves up.
-
Tell shoppers who the model is.
Pair worn images with the model's measurements and the size worn so shoppers can map the garment to their own body.
-
Do not look cheap.
Baymard's users judged poor-looking images harshly. Its 2020 advice was to treat mannequins and rendered models as a last resort.
That last finding deserves a straight answer. The research predates photoreal AI models, and its warning is about quality, not technology. Shoppers punish images that look cheap. They reward images that look real and tell the truth. That is the bar for everything in this guide.
One more point from the same research. Baymard found that no test users were put off buying by a lack of body-type variety, so showing garments on several models is an enhancement, not a necessity. Start with one convincing model on every product, then add range.
What a flat lay can and cannot show
Each format answers a different question. Use the right one for the job, and keep the flat lay as a supporting image.
| Format | It answers | It hides | Best used for |
|---|---|---|---|
| Flat lay | What do the fabric, color and print look like? | Fit, drape, length on a body | Detail and a true-to-color reference |
| Ghost mannequin | How does the garment hold its shape? | How it moves and sits on a real body | Structured pieces like jackets and shirts |
| On-model | How will it look and fit when worn? | True color and fine construction, if the image is stylized | The lead image and the fit image |
| Lifestyle or editorial | Where and how will I wear it? | Fit, if the styling is heavy | Campaigns and social |
What AI actually does with your flat lay
AI reads the garment in your photo: its shape, color, print, trims and fabric. It then renders that garment on a model you choose, with believable drape and light. Your photo is the source of truth. The better the photo, the closer the result.
Brands use this in three ways. Brands with only flat photography use it to turn those photos into styled model images. Brands with a ghost mannequin rig use it to skip the rig. Brands with large catalogs use one saved model across the whole range, so every product page features the same face.
How to turn a flat lay into styled model images with AI
So now we know about what flat lay can and cannot show, and when you need an on-model
Step 1: Prepare a flat lay that AI can read
Spend ten minutes on the photo and you save an hour on retakes. This checklist works for our Fashion studio and any other tool you want to use.
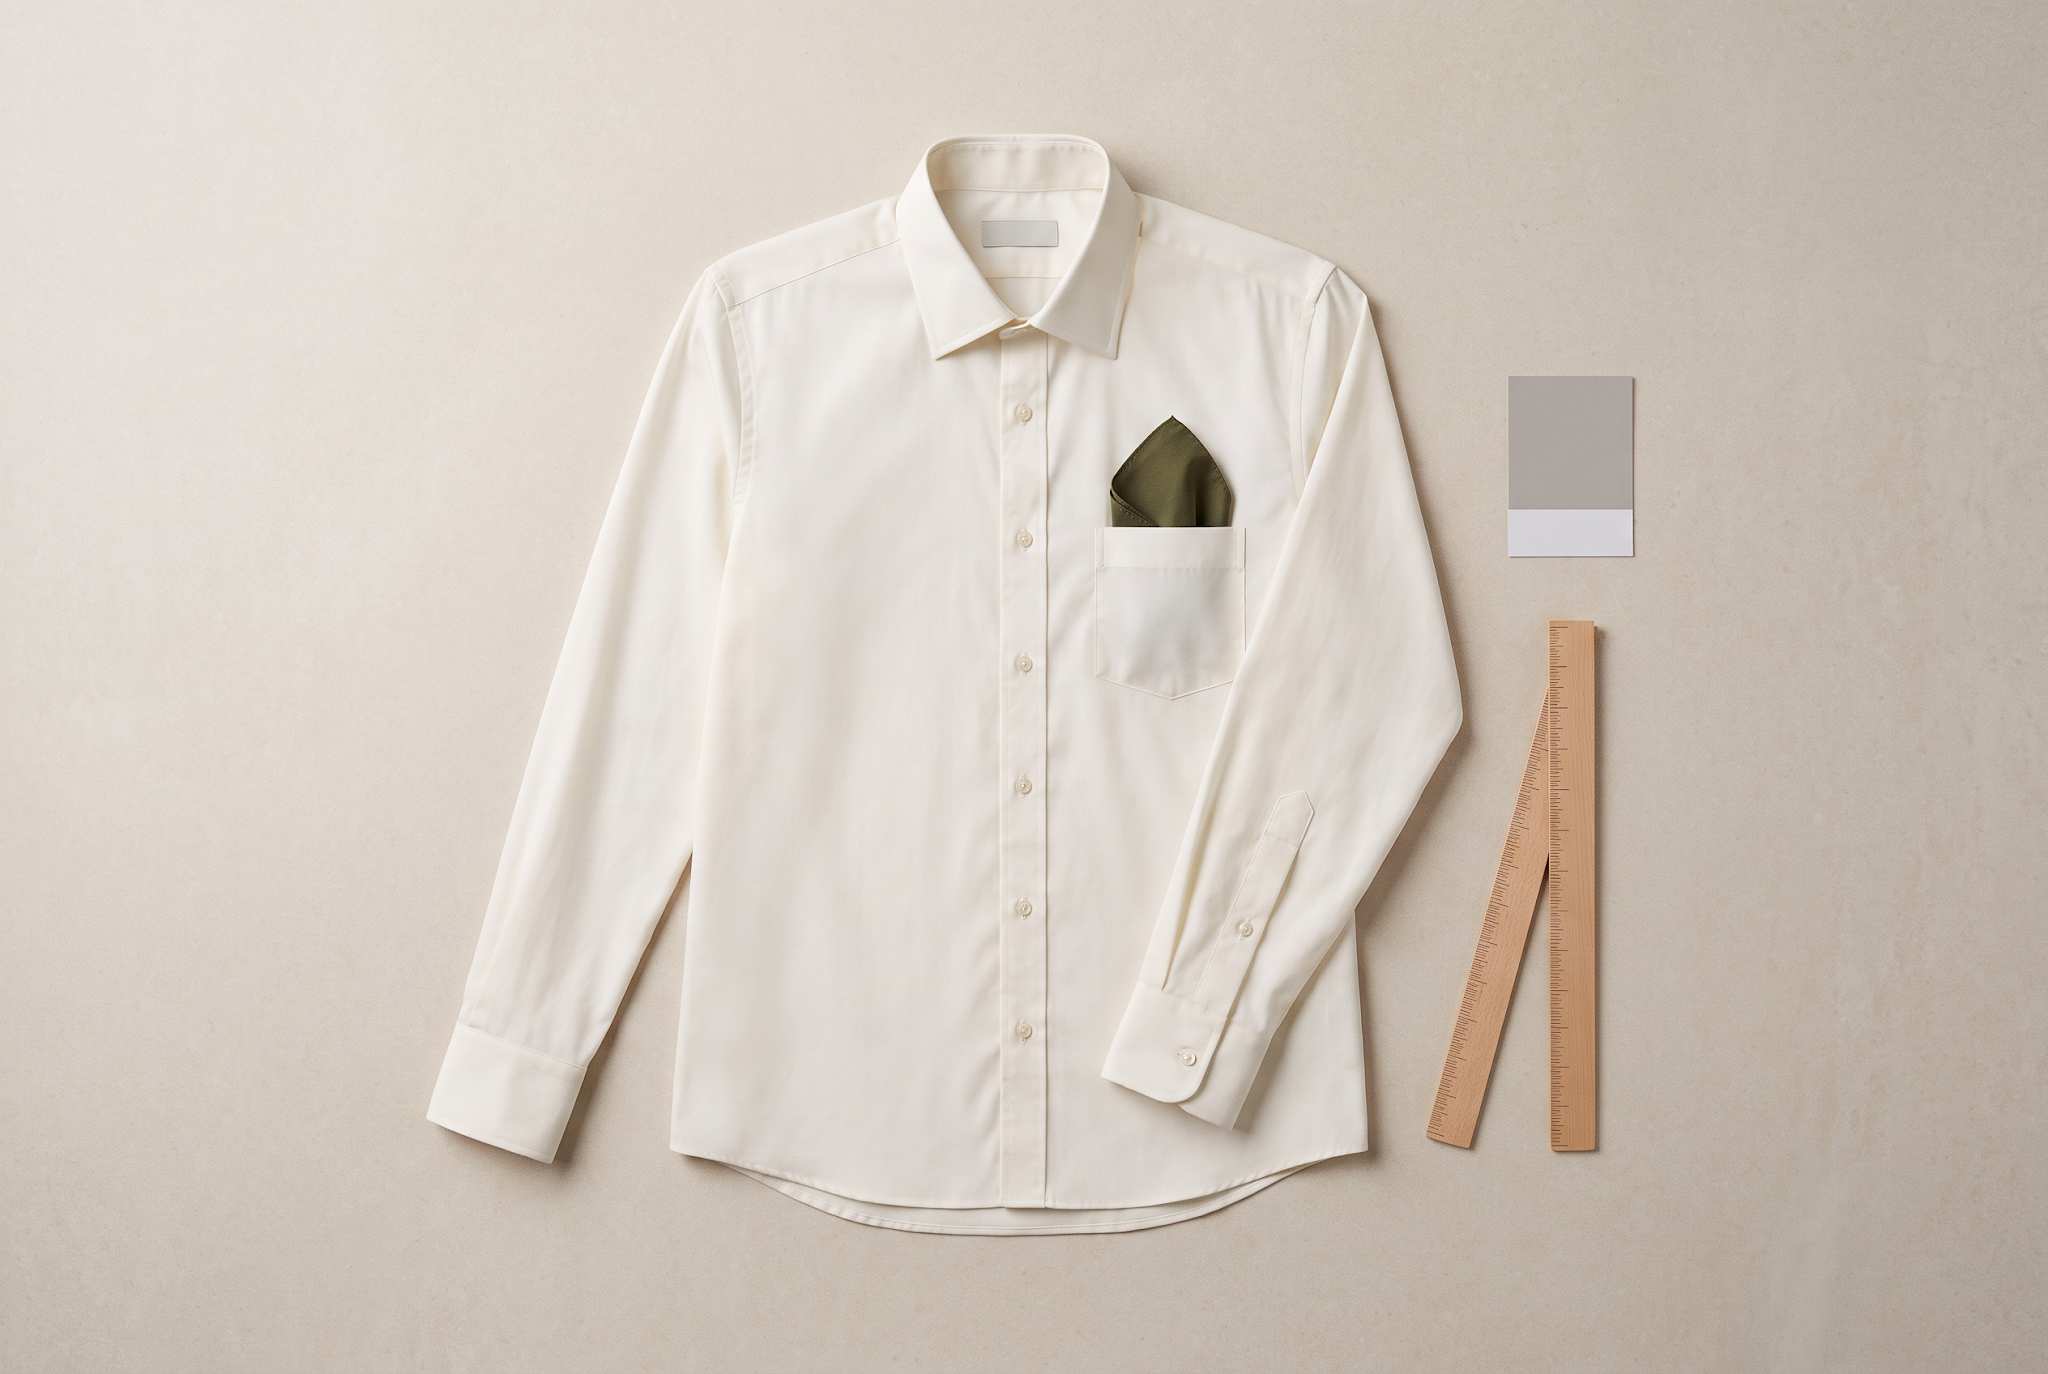 A pressed ivory poplin shirt laid flat from above on a stone surface, with a gray color card and a plain ruler.
| Do this | Why |
|---|---|
| Steam or press the garment | Wrinkles read as fabric texture and show up on the model |
| Show the whole garment, nothing cropped | The AI cannot invent a hem or sleeve it never saw |
| Button, zip and square the garment | Open fronts and twisted sleeves change the silhouette |
| Shoot straight down, or from one consistent angle | Angled shots distort proportions |
| Use even, soft light on a plain surface | Hard shadows get read as folds |
| Set a true white balance | The model gets the color you shot, so shoot the real color |
| Shoot sharp and high resolution | Weave, print and stitching need pixels. Do not send compressed screenshots |
| Shoot the back and any key details | It gives the AI facts instead of guesses for the back view and trims |
| Avoid hangers that bend the shoulders | A distorted shoulder line carries over to the worn image |
Step 2: Build the shoot in six moves
In ImagineArt Fashion Studio the workflow has six steps. Here is each one, with what to do and what to watch for.
-
Choose a model.
Pick a preset model, upload your own, or generate one from a prompt. Look at the face and skin in close-up. Choose one who matches your customer. Save the model so every garment uses the same face. Our guide to keeping the same AI model across a collection shows how.
-
Dress the look.
Select or upload a top and a bottom, and choose the fabric for each piece. Upload your prepared flat lay as the garment. Choose the fabric that matches the real one, because it affects drape.
-
Add footwear and accessories.
Pick shoes, jewelry and accessories from presets or upload your own. Keep them plain for your fit image so they do not distract from the garment.
-
Set the background.
Choose a catalog backdrop for product pages, or an outdoor editorial scene for campaigns. Use one backdrop for a whole range so the page looks consistent.
-
Direct the pose.
Choose a preset pose, upload a reference image, or describe one. For the fit image, use a straight, relaxed stance with arms away from the body.
-
Shoot or animate.
Generate a still, or animate the model into a short clip. Set the aspect ratio and clip length for square, vertical or widescreen formats.
Everything you generate belongs to your brand. Fashion Studio images come with full commercial rights and no licensing fee tied to the model or the shoot.
Step 3: Run the fit-honesty check
Every worn image makes a promise about the garment. Check that you can keep it. A render can quietly slim a boxy cut or lengthen a cropped hem, and then the shopper gets something different. Compare each image with the real garment, held up next to your screen.
| Check | Pass looks like | Fail looks like |
|---|---|---|
| Length | Hem, sleeve and inseam land where the real garment's do | A cropped top now covers the waist |
| Fit and cut | A boxy shirt looks boxy. A fitted dress looks fitted | The silhouette is slimmer or looser than the product |
| Color | Matches the physical garment under neutral light | Warmer, cooler or flatter than the real thing |
| Print and logo | Scale, repeat and placement match | A print is enlarged or a logo moved |
| Trims and hardware | Buttons, zips, pockets and labels sit where the real ones do | An extra pocket or a missing button |
| Fabric | Sheen and texture read like the real cloth | Satin looks glossier. Knit looks smoother |
| Anatomy | Natural hands and proportions | Extra fingers or twisted limbs |
Four habits keep you honest:
- Keep the first worn image plain. Unstyled, no tucks, no pushed sleeves. Add styled images after it.
- Publish the model's height and the size worn next to the image.
- Keep a flat lay in the gallery. It is your true-color, true-construction reference.
- Record the review. Save the source photo, the approved image, the reviewer and the date.
Images that overstate fit are also a legal risk, and a label does not fix them. Our rights and disclosure guide covers when you must label AI models and how accuracy rules apply.
Which garments convert easily and which need care
| Level | Garments | What to expect |
|---|---|---|
| Straightforward | Tees, sweatshirts, knits, jeans, trousers, simple jackets, structured dresses | Clean results with a good photo |
| Needs a closer look | Bold prints, stripes, checks, logos, layered outfits | Check print scale, alignment and placement on every image |
| Needs care | Sheer or lace pieces, heavy drape, satin, sequins, very small hardware | Allow a couple of rounds and review each image on its own |
If fabric movement is the whole sale, shoot that piece in a studio, and use AI for everything around it.
Turn one flat lay into a full product page
One garment should not mean one image. A complete product page shows the garment from every angle a shopper would check. From one prepared flat lay and a saved model, you can build the set:
- Front, back and side views
- A seated or walking pose to show movement
- A close-up of the details that matter: collar, cuff, trim, print
- A short clip for the gallery
- A second backdrop for campaign and social use
Baymard found that product videos are a poor substitute for still images, because most users do not engage with them, so lead with the stills and treat the clip as a bonus.
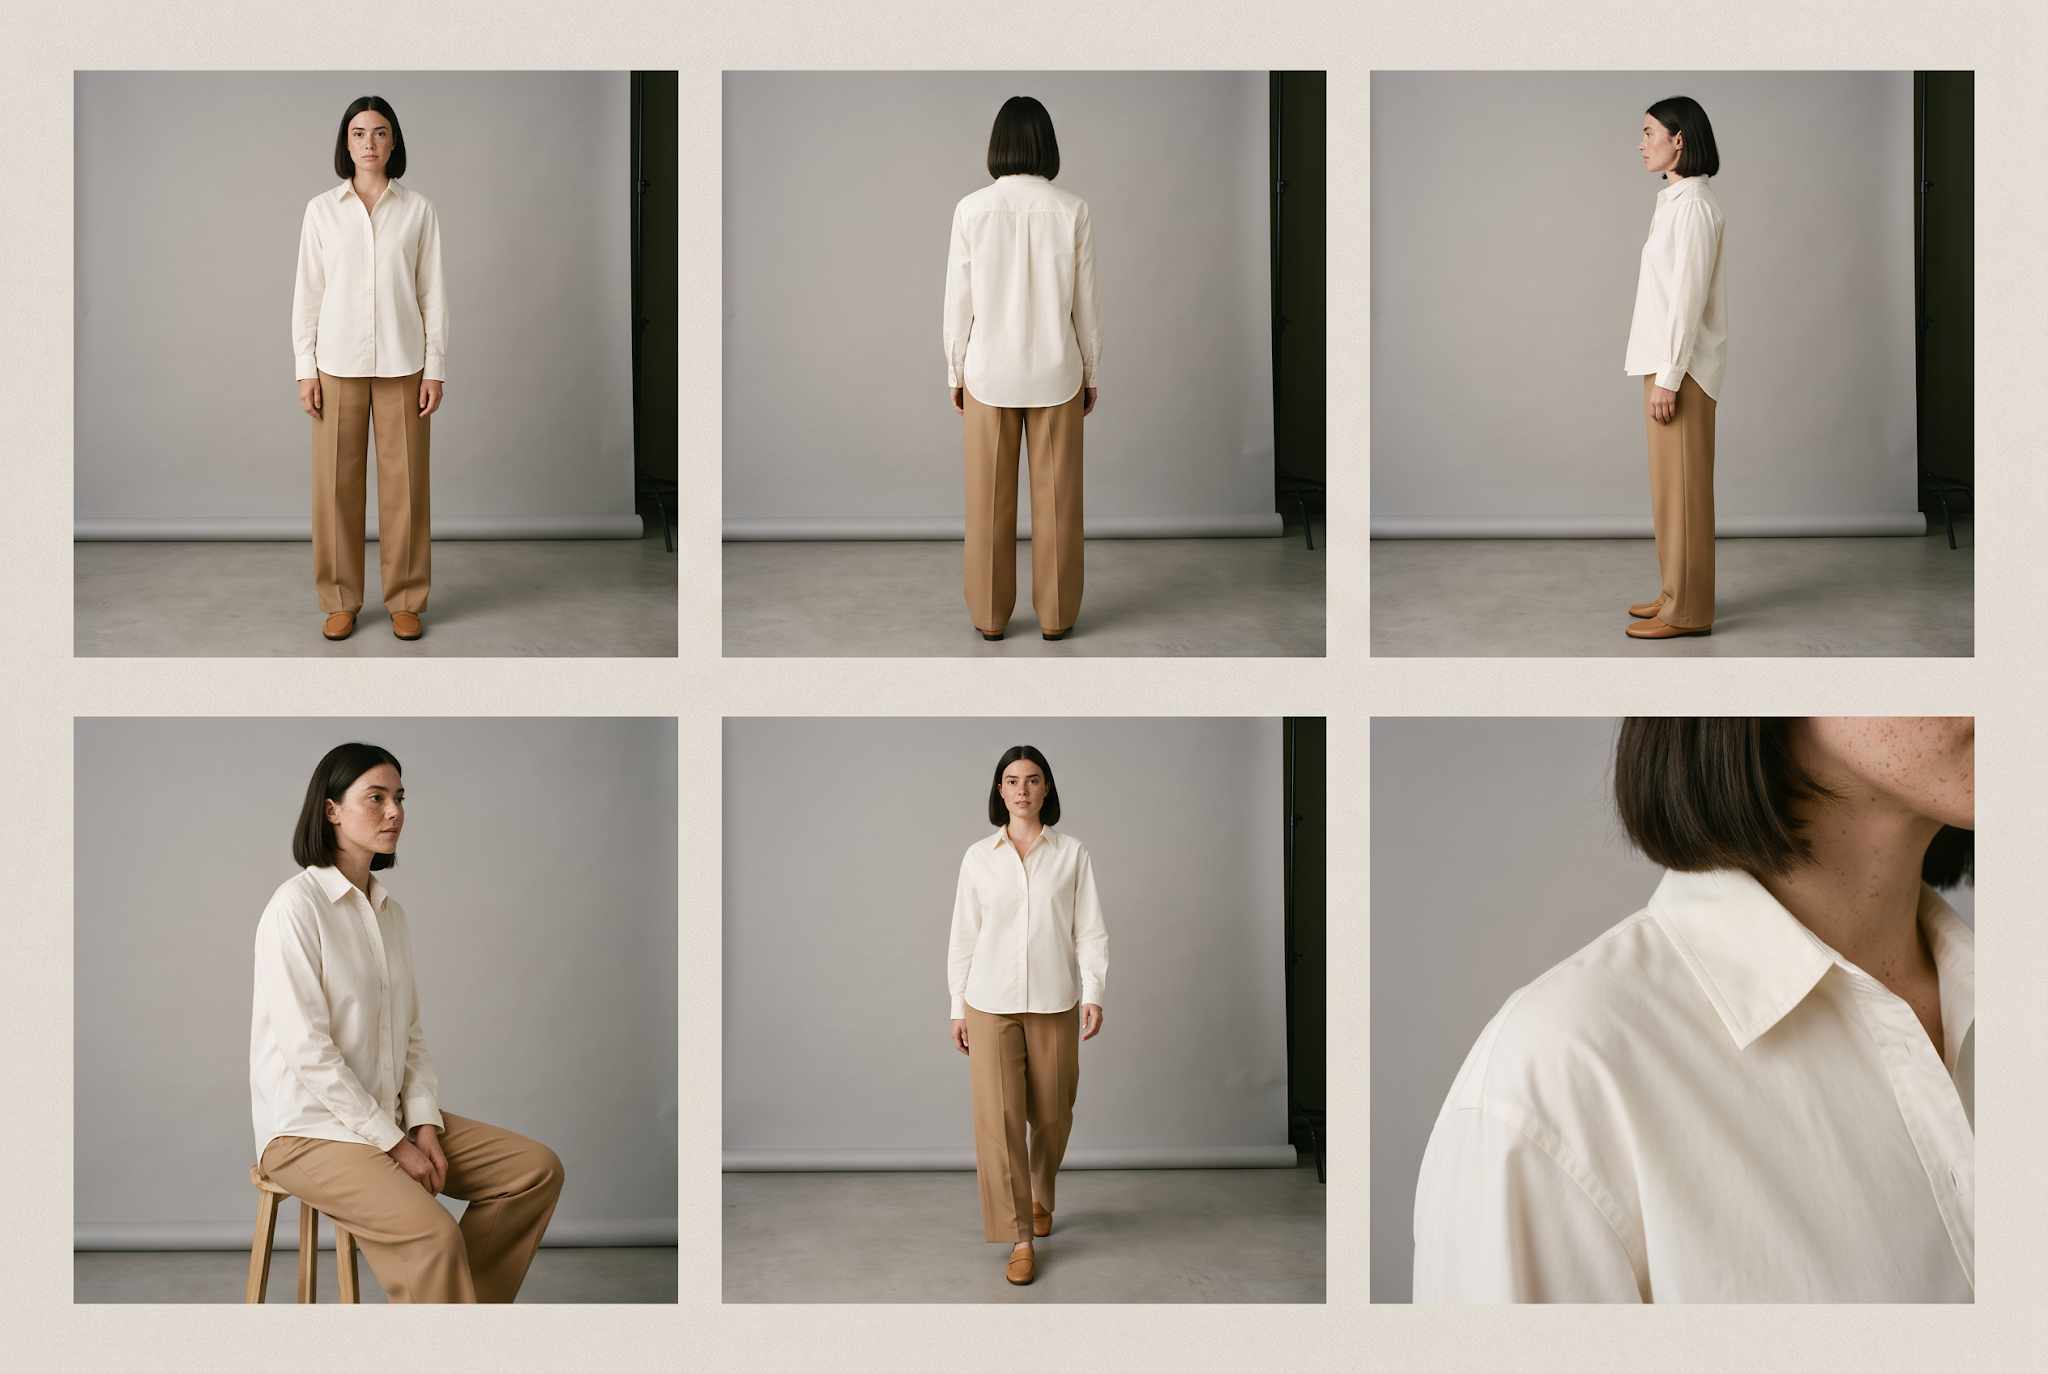 Six views of one model in one outfit: front, back, side, seated, walking and a collar close-up.
Leading fashion and apparel brands use Fashion studio to turn one still image into different poses, directions, and location. Read our AI vs studio fashion photography guide to see how our customers are scaling faster at a fraction of routine cost.
How to make sure your on-model images look studio-grade
- Prep your source files: Avoid uploading wrinkled or poorly cropped clothing photos, as the AI will replicate those flaws perfectly.
- Maintain model consistency: Use the same AI model across an entire product range to avoid making your collection look like a random stock photo set.
- Lead with the fit: Start your product page with a clean, clear shot rather than a heavily styled creative image that hides how the garment hangs.
- Audit every batch: Double-check every generated image for accurate fit and color mapping to prevent customer returns later.
- Keep your flat lays: Save your original flat-lay photography, as it serves as your baseline reference for real-world garment color.
- Check compliance rules: Add an AI generation disclosure if your local market or platform regulations require it for realistic synthetic models.
Run a 30-minute test before uploading
- Pick five garments. One easy piece, one print, one dark piece, one structured piece and your hardest one.
- Prepare the flat lays with the checklist above.
- Choose one model and one backdrop, and run all five.
- Score each image with the fit-honesty table.
- Count the approved images and note the time. That gives you your own cost per approved image.
Ready to see your own flat lays worn? Start in Fashion Studio or talk to sales and we will set up a pilot on your hardest garments.
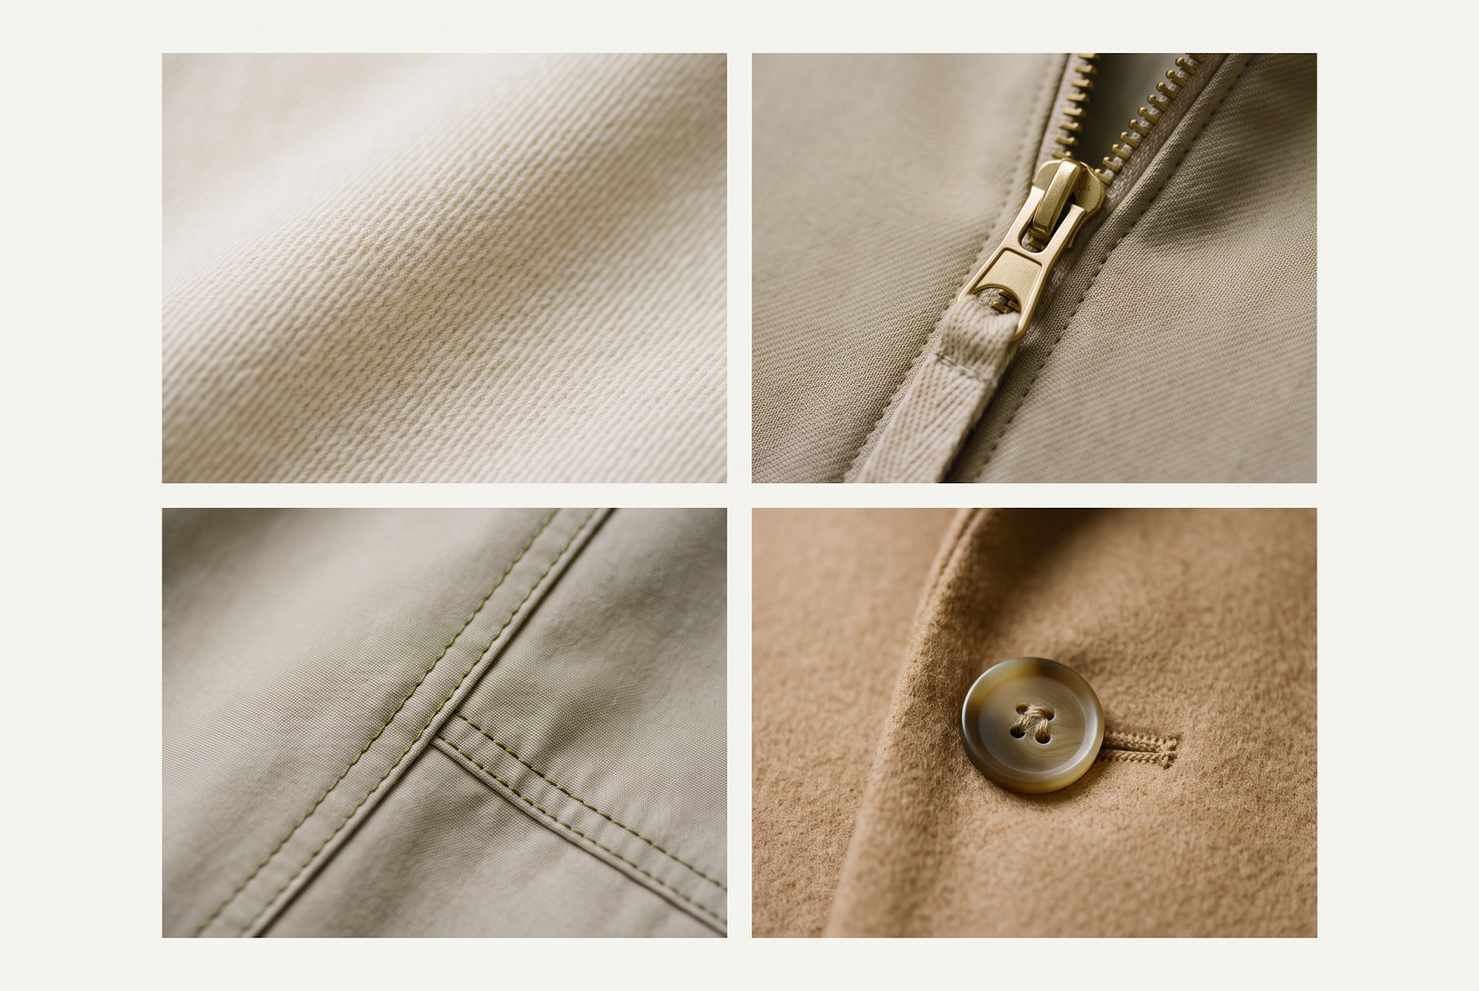 Four macro garment details: twill weave, a brass zip pull, olive stitching and a horn button.
FAQ
Yes. You upload a clean photo of the garment, choose a model, a background and a pose, and generate an on-model editorial or catalogue photo with Fashion studio. Review it against the real garment before you publish.
No. A flat lay, a hanger photo or a ghost mannequin photo can all work as the starting point. A ghost mannequin rig is no longer a required step. Read our ghost mannequin photography guide for when it still helps.
They can, if you choose a model with natural skin and hair and check close-ups. Shoppers judge images that look cheap harshly, so test your model before you roll it out.
Compare each image with the real garment for length, cut, color, print and trims. Lead with a plain, unstyled worn image. Publish the model's height and the size worn.
Simple tees, knits, jeans, trousers, jackets and structured dresses convert cleanly. Sheer fabric, heavy drape, satin and sequins need more review.
Yes. Save the model once and reuse it across your range. See our guide to keeping the same AI model across a collection.
Yes, but give the AI the facts. Upload a back photo and detail shots so the back view and trims are not guesses.
Sometimes. A fully AI-generated person in an ad needs a label in New York and likely in the EU, and Amazon asks sellers to tag AI-generated people. Read the full guide.
Yes. What you generate in Fashion Studio is yours to use commercially across your store, ads and social, with no licensing fee tied to the model or the shoot.
Virtual try-on lets a shopper see a garment on themselves. On-model photography is imagery your brand makes and publishes on the product page. Many brands use both.
Kamran Arshad
Kamran Arshad is a full-stack marketer and growth strategist for Gen AI and B2B SaaS companies.